
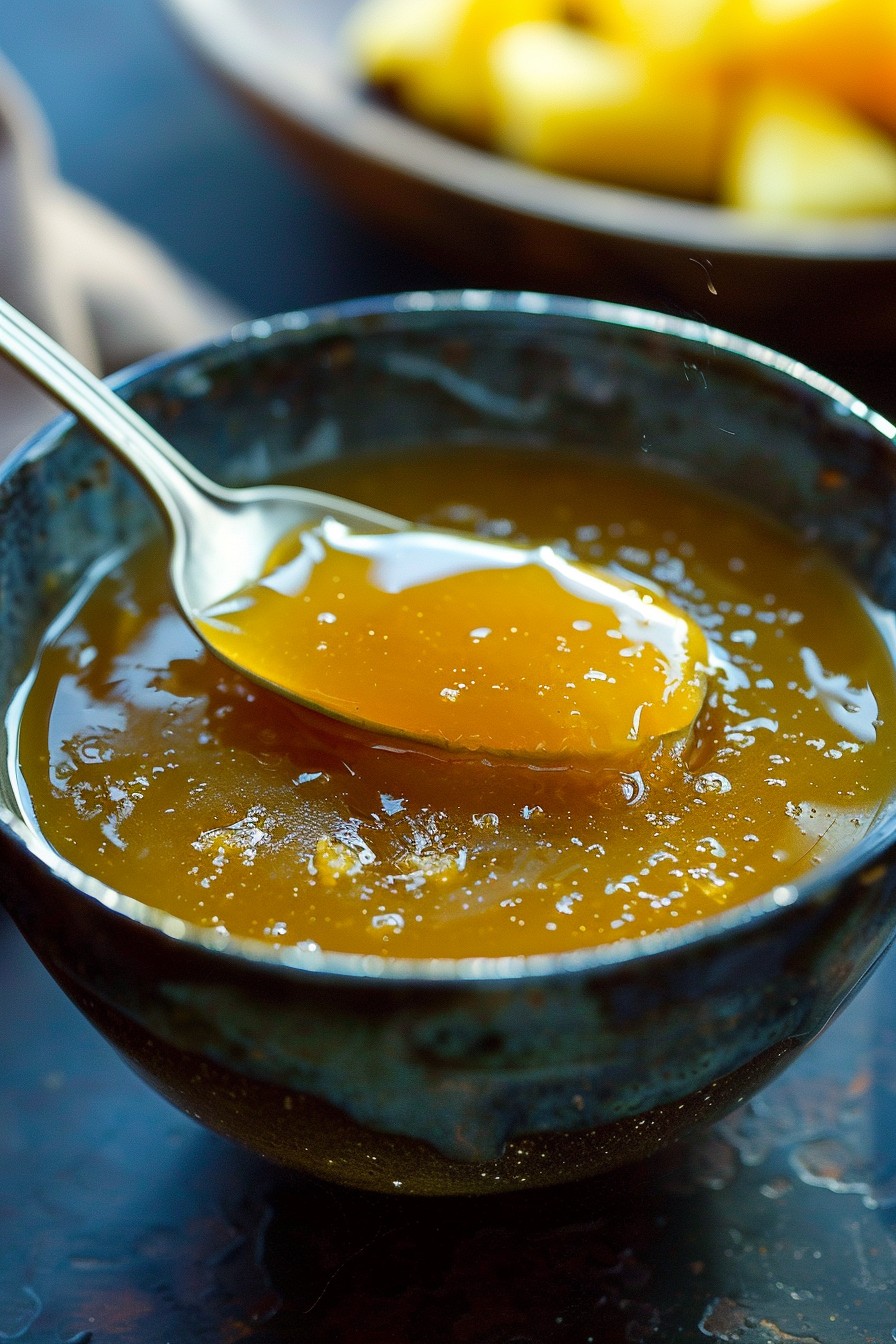
Bursting with flavor and versatility, this pineapple glaze recipe is your ticket to transforming ordinary meals into extraordinary culinary experiences. Whether you’re glazing ham, chicken, or even desserts, this sweet and tangy concoction will leave your taste buds dancing.
Why This Recipe Works
- The combination of pineapple juice and brown sugar creates a perfect balance of sweetness and acidity.
- Cornstarch ensures a glossy, thick glaze that clings beautifully to any dish.
- Simple ingredients come together quickly, making it a hassle-free addition to your cooking repertoire.
- It’s incredibly versatile, perfect for meats, seafood, and even baked goods.
- The glaze can be made ahead of time, saving you precious minutes during meal prep.
Ingredients
- 1 cup pineapple juice
- 1/2 cup brown sugar, packed
- 2 tablespoons cornstarch
- 1 tablespoon lemon juice
- 1/2 teaspoon vanilla extract
- Pinch of salt
Equipment Needed
- Medium saucepan
- Whisk
- Measuring cups and spoons
Instructions
Step 1: Combine Your Ingredients
In a medium saucepan, whisk together the pineapple juice, brown sugar, cornstarch, lemon juice, vanilla extract, and a pinch of salt until the cornstarch is completely dissolved. This ensures a smooth glaze without any lumps. Tip: For an extra flavor boost, consider adding a teaspoon of grated ginger at this stage.
Step 2: Heat the Mixture
Place the saucepan over medium heat and bring the mixture to a simmer, stirring constantly. This prevents the cornstarch from clumping and ensures even thickening. The glaze is ready when it coats the back of a spoon, about 5 minutes.
Step 3: Adjust Consistency
If the glaze is too thick, add a tablespoon of water at a time until you reach the desired consistency. Conversely, if it’s too thin, allow it to simmer for an additional minute or two. Tip: Remember, the glaze will thicken slightly as it cools.
Step 4: Cool and Use
Remove the glaze from heat and let it cool for about 10 minutes before using. This allows it to thicken to the perfect consistency for glazing your chosen dish. Tip: For a shiny finish, brush the glaze on your dish during the last few minutes of cooking.
Tips and Tricks
For those looking to take their pineapple glaze to the next level, consider these advanced tips. First, toasting the brown sugar before adding it to the mixture can deepen the flavor profile, adding a caramel-like richness. Second, incorporating a splash of rum or coconut milk can introduce an exotic twist, perfect for tropical-themed dishes. Lastly, for a smoother texture, strain the glaze through a fine-mesh sieve after cooking to remove any potential lumps or pineapple pulp remnants.
Recipe Variations
- Spicy Pineapple Glaze: Add a teaspoon of red pepper flakes or a diced jalapeño for a spicy kick.
- Honey Pineapple Glaze: Substitute brown sugar with honey for a different kind of sweetness.
- Citrus Pineapple Glaze: Incorporate orange or lime juice alongside lemon juice for a citrusy punch.
- Herbed Pineapple Glaze: Stir in fresh herbs like rosemary or thyme for an aromatic twist.
Frequently Asked Questions
Can I use canned pineapple juice? Absolutely! Canned pineapple juice works just as well as fresh. Just ensure it’s 100% juice without added sugars for the best results.
How long can I store the glaze? The glaze can be stored in an airtight container in the refrigerator for up to a week. Reheat gently before use.
Can I freeze the glaze? Yes, the glaze freezes well for up to 3 months. Thaw in the refrigerator overnight and reheat before using.
Summary
This pineapple glaze recipe is a simple yet transformative addition to your culinary toolkit, offering a perfect blend of sweetness and tanginess that elevates any dish. With its versatility and ease of preparation, it’s sure to become a staple in your kitchen.