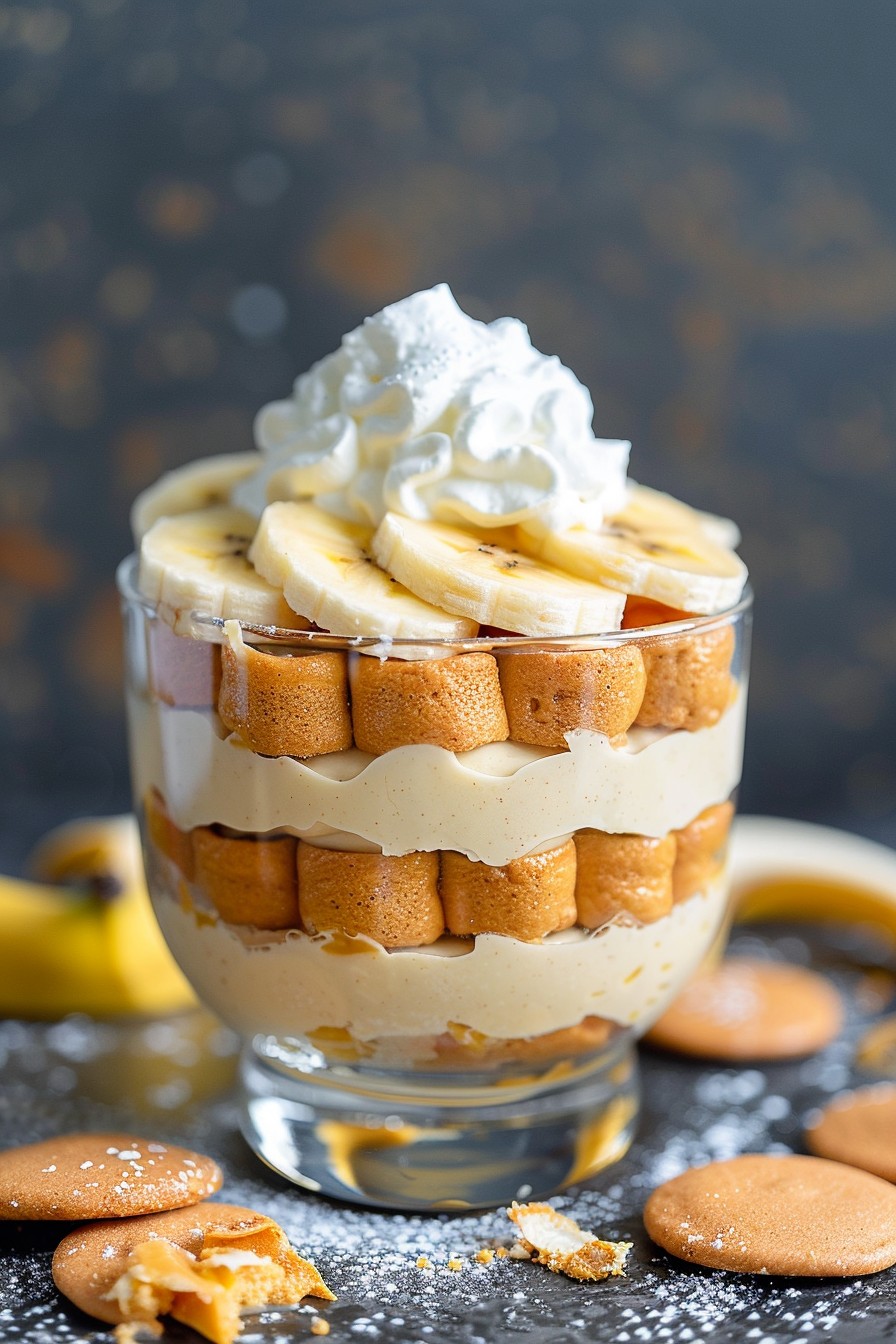
You’re in for a treat with this gluten-free banana pudding that’s as delicious as it is easy to make. Perfect for those with dietary restrictions or anyone looking for a lighter dessert option.
Why This Recipe Works
- Uses gluten-free vanilla wafers for a crunchy texture without the gluten.
- Fresh bananas add natural sweetness and a creamy texture.
- Homemade pudding ensures a rich, flavorful base that’s far superior to store-bought versions.
- Lightly whipped cream topping adds a fluffy, cloud-like finish.
- Perfect make-ahead dessert that gets better as it sits.
Ingredients
- 2 cups gluten-free vanilla wafers
- 4 ripe bananas, sliced
- 3 cups whole milk
- 1/2 cup granulated sugar
- 1/4 cup cornstarch
- 1/4 teaspoon salt
- 3 large egg yolks
- 2 tablespoons unsalted butter
- 2 teaspoons vanilla extract
- 1 cup heavy cream
- 2 tablespoons powdered sugar
Equipment Needed
- Medium saucepan
- Whisk
- Mixing bowls
- Electric mixer
- 9×13 inch baking dish
Instructions

Step 1: Prepare the Pudding Base
In a medium saucepan, whisk together milk, sugar, cornstarch, salt, and egg yolks over medium heat. Cook, stirring constantly, until the mixture thickens and bubbles, about 5-7 minutes. Remove from heat and stir in butter and vanilla extract until smooth. Tip: For an extra smooth pudding, strain it through a fine-mesh sieve.
Step 2: Layer the Wafers and Bananas
Arrange a layer of gluten-free vanilla wafers at the bottom of your baking dish. Top with a layer of sliced bananas. Repeat the layers until all wafers and bananas are used, ending with a layer of bananas on top.
Step 3: Pour the Pudding Over Layers
Slowly pour the warm pudding over the layered wafers and bananas, ensuring it seeps into all the nooks and crannies. Use a spatula to smooth the top. Tip: Let the pudding cool slightly before pouring to prevent the bananas from becoming too mushy.
Step 4: Whip the Cream Topping
In a large bowl, whip the heavy cream and powdered sugar until stiff peaks form. Spread the whipped cream over the pudding layer. Tip: For best results, chill your mixing bowl and beaters in the freezer for 10 minutes before whipping the cream.
Step 5: Chill and Serve
Cover the dish with plastic wrap and refrigerate for at least 4 hours, or overnight, to allow the flavors to meld and the pudding to set. Serve chilled.
Tips and Tricks
For an even more decadent dessert, consider toasting the gluten-free vanilla wafers before layering them in the dish. This adds a deeper flavor and extra crunch. If you’re short on time, you can use store-bought gluten-free pudding, but homemade really makes a difference in taste and texture. For a dairy-free version, substitute the milk and heavy cream with your favorite non-dairy alternatives, like almond milk and coconut cream. Remember, the quality of your bananas can make or break this dessert, so choose ripe but firm bananas for the best results.
Recipe Variations
- Chocolate Banana Pudding: Add 1/4 cup cocoa powder to the pudding mixture for a chocolatey twist.
- Peanut Butter Banana Pudding: Swirl in 1/2 cup peanut butter into the pudding before layering.
- Tropical Banana Pudding: Mix in 1/2 cup shredded coconut and top with diced pineapple.
- Berry Banana Pudding: Layer fresh strawberries or blueberries with the bananas for a fruity variation.
- Vegan Banana Pudding: Use plant-based milk, butter, and cream substitutes to make this dessert vegan-friendly.
Frequently Asked Questions
Can I make this recipe ahead of time?
Absolutely! This banana pudding actually tastes better the next day as the flavors have more time to meld together. Just be sure to cover it tightly with plastic wrap to prevent the whipped cream from absorbing any fridge odors.
How long does this pudding last in the fridge?
Stored properly in an airtight container, this banana pudding will last for up to 3 days in the refrigerator. However, the bananas may start to brown after the first day, so it’s best enjoyed within 24 hours for optimal freshness.
Can I freeze banana pudding?
Freezing is not recommended as the texture of the pudding and whipped cream will change upon thawing, resulting in a watery and separated dessert. It’s best enjoyed fresh or refrigerated.
Summary
This gluten-free banana pudding is a delightful dessert that’s easy to make and sure to impress. With layers of gluten-free wafers, fresh bananas, homemade pudding, and whipped cream, it’s a treat that everyone can enjoy, regardless of dietary restrictions.