
Deliciously creamy and perfectly sweet, this diabetic ice cream recipe is a game-changer for anyone looking to indulge without the guilt. Dive into a dessert that’s as kind to your blood sugar as it is to your taste buds.
Why This Recipe Works
- Uses natural sweeteners like stevia and erythritol to avoid sugar spikes.
- Incorporates healthy fats from coconut milk for a creamy texture without dairy.
- Easy to customize with your favorite low-carb mix-ins.
- No fancy equipment needed, just a blender and an ice cream maker.
- Quick to prepare, with most of the time being hands-off freezing.
Ingredients
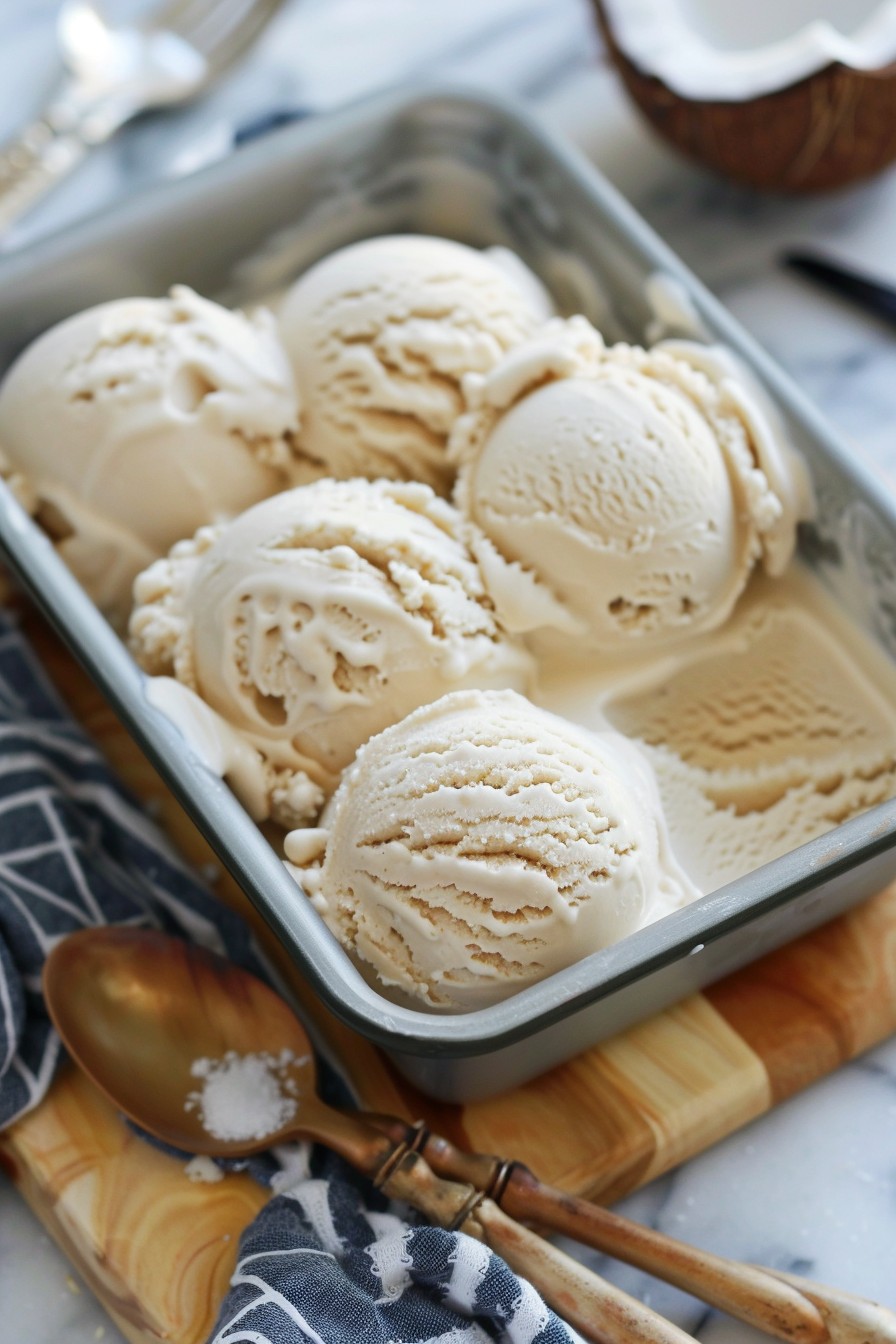
- 2 cups full-fat coconut milk
- 1/2 cup unsweetened almond milk
- 1/4 cup powdered erythritol
- 1 tsp stevia extract
- 1 tsp vanilla extract
- 1/4 tsp xanthan gum (for thickness)
- A pinch of salt
Equipment Needed
- Blender
- Ice cream maker
- Measuring cups and spoons
- Rubber spatula
Instructions
Step 1: Blend Your Base
Combine the coconut milk, almond milk, erythritol, stevia, vanilla extract, xanthan gum, and salt in a blender. Blend on high for about 30 seconds until everything is well incorporated and the mixture is smooth. Tip: For an extra smooth texture, let the mixture sit for 5 minutes after blending to allow the xanthan gum to fully activate.
Step 2: Chill the Mixture
Pour the blended mixture into a bowl and refrigerate for at least 2 hours, or until it’s thoroughly chilled. This step is crucial for achieving the creamiest ice cream texture possible.
Step 3: Churn the Ice Cream
Transfer the chilled mixture to your ice cream maker and churn according to the manufacturer’s instructions, usually about 20-25 minutes. The ice cream should be thick and creamy but still soft enough to scoop. Tip: If you don’t have an ice cream maker, you can freeze the mixture in a shallow dish, stirring every 30 minutes until it reaches the desired consistency.
Step 4: Freeze to Firm Up
For a firmer texture, transfer the churned ice cream to a lidded container and freeze for an additional 2-4 hours. This step is optional depending on how soft or firm you prefer your ice cream.
Step 5: Serve and Enjoy
Scoop your diabetic-friendly ice cream into bowls or cones. If it’s too hard straight from the freezer, let it sit at room temperature for 5-10 minutes to soften slightly. Tip: Garnish with fresh berries or a sprinkle of nuts for added texture and flavor.
Tips and Tricks
Making diabetic ice cream that’s both delicious and blood sugar-friendly is easier than you think. Here are some advanced tips to elevate your dessert game: Experiment with different flavors by adding cocoa powder, cinnamon, or citrus zest to the base mixture before blending. For a nuttier flavor, try using cashew milk instead of almond milk. If you’re watching your carb intake closely, be mindful of the mix-ins you choose—stick to low-carb options like dark chocolate chips or coconut flakes. To prevent ice crystals from forming, ensure your ice cream maker’s bowl is fully frozen before churning, and don’t skip the xanthan gum—it’s a game-changer for texture. Lastly, for the best results, consume your ice cream within a week, as homemade versions without preservatives can develop ice crystals over time.
Recipe Variations
- Chocolate Peanut Butter: Add 2 tbsp cocoa powder and 2 tbsp sugar-free peanut butter to the base before blending.
- Strawberry Cheesecake: Blend in 1/2 cup pureed strawberries and 1/4 cup cream cheese for a tangy twist.
- Mint Chip: Mix in 1 tsp peppermint extract and 1/4 cup sugar-free chocolate chips after churning.
- Coffee Toffee: Stir in 1 tbsp instant coffee granules and 1/4 cup sugar-free toffee bits for a caffeine kick.
Frequently Asked Questions
Can I use a different sweetener?
Absolutely! While erythritol and stevia are recommended for their minimal impact on blood sugar, you can experiment with other sugar substitutes like monk fruit or allulose. Just keep in mind that sweetness levels can vary, so you may need to adjust quantities.
Is this recipe keto-friendly?
Yes, this diabetic ice cream recipe is also keto-friendly, as it’s low in carbs and sugars. Just be sure to check the labels on your mix-ins to ensure they fit within your keto macros.
How can I make this recipe dairy-free?
This recipe is already dairy-free, using coconut milk as the base. For those avoiding all animal products, it’s a perfect choice. Just ensure any additional ingredients or toppings you choose are also dairy-free.
Summary
This diabetic ice cream recipe offers a delicious, guilt-free way to enjoy a classic dessert. With simple ingredients, easy preparation, and endless customization options, it’s a must-try for anyone looking to satisfy their sweet tooth without the sugar spike.