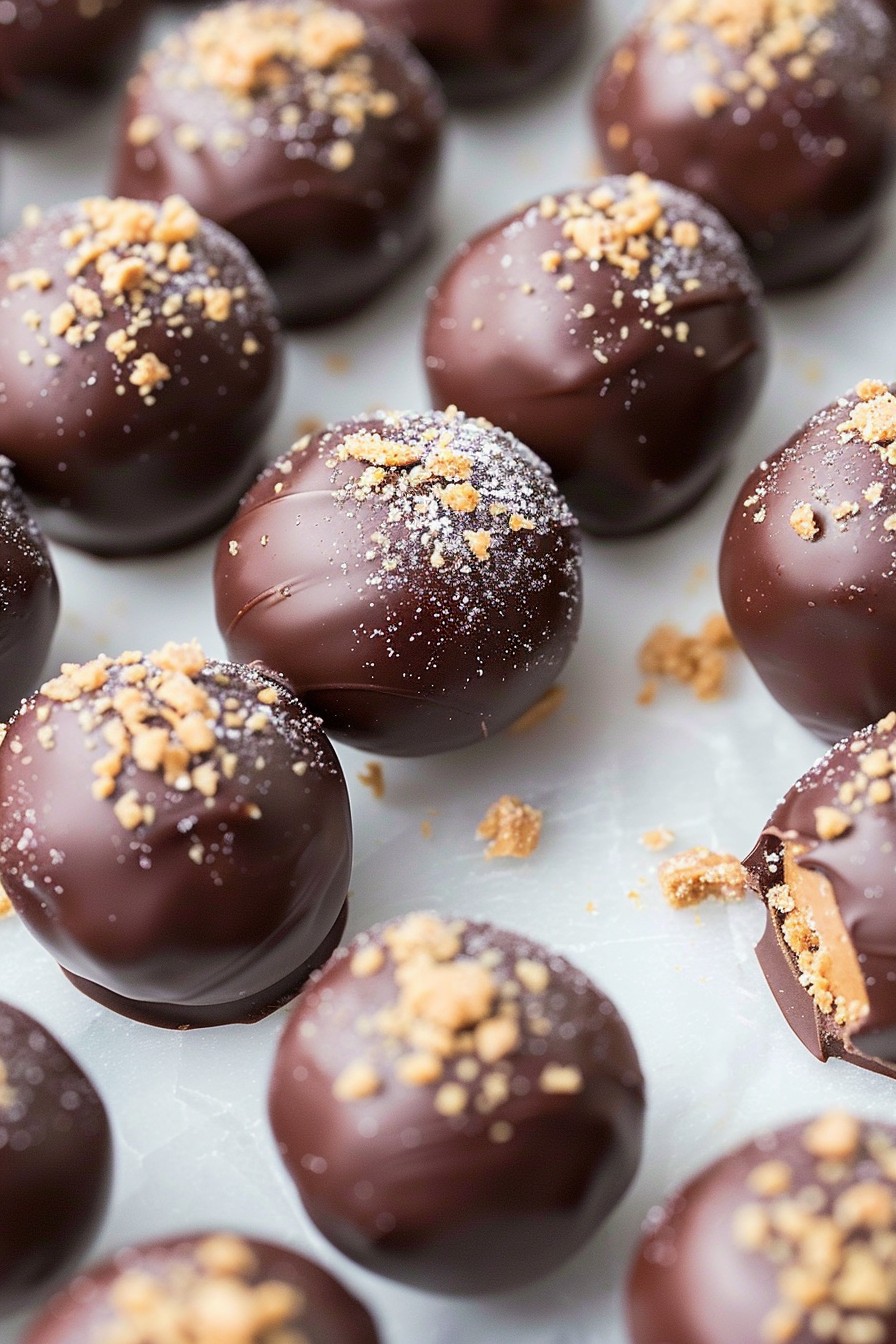
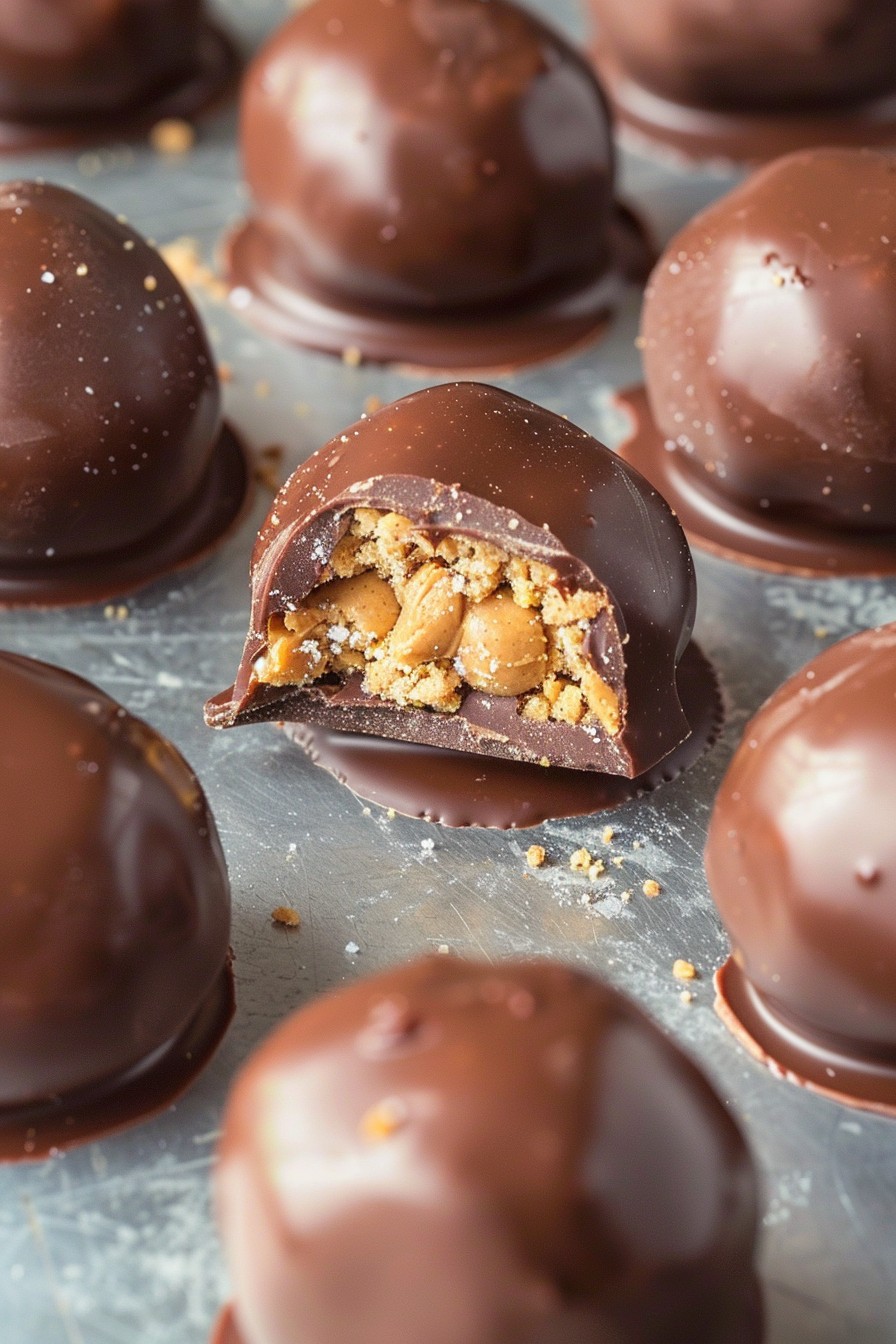
These chocolate peanut butter balls are the perfect treat for peanut butter lovers and chocolate enthusiasts alike. They’re easy to make, require no baking, and are irresistibly delicious.
Why This Recipe Works
- No baking required, making it a quick and easy treat.
- The combination of peanut butter and chocolate is a classic favorite.
- Customizable with various toppings and mix-ins for personal preference.
- Perfect for parties, gifts, or a sweet snack.
- Uses simple, pantry-staple ingredients.
Ingredients
- 1 cup creamy peanut butter
- 1/2 cup powdered sugar
- 1/2 cup graham cracker crumbs
- 1/4 cup unsalted butter, softened
- 1 cup semi-sweet chocolate chips
- 1 tbsp coconut oil
Equipment Needed
- Mixing bowl
- Measuring cups and spoons
- Baking sheet
- Parchment paper
- Double boiler or microwave-safe bowl
- Toothpicks or fork for dipping
Instructions
Step 1: Mix the Base Ingredients
In a large mixing bowl, combine the creamy peanut butter, powdered sugar, graham cracker crumbs, and softened butter. Mix until all ingredients are well incorporated and the mixture is smooth. If the mixture is too sticky, you can add a little more powdered sugar to make it easier to handle.
Step 2: Form the Balls
Using your hands, roll the mixture into small balls, about 1 inch in diameter. Place them on a baking sheet lined with parchment paper. Once all the mixture is rolled into balls, place the baking sheet in the refrigerator for at least 30 minutes to firm up.
Step 3: Melt the Chocolate
In a double boiler or a microwave-safe bowl, melt the semi-sweet chocolate chips with the coconut oil. If using a microwave, heat in 30-second intervals, stirring in between, until the chocolate is completely melted and smooth.
Step 4: Dip the Balls in Chocolate
Using a toothpick or fork, dip each peanut butter ball into the melted chocolate, ensuring it’s fully coated. Allow any excess chocolate to drip off before placing it back on the parchment paper. Repeat with all the balls.
Step 5: Chill to Set
Once all the balls are coated in chocolate, place the baking sheet back in the refrigerator for at least 1 hour, or until the chocolate is completely set. For a quicker set, you can place them in the freezer for about 20 minutes.
Tips and Tricks
For an extra crunch, you can roll the peanut butter balls in crushed peanuts or graham cracker crumbs before dipping them in chocolate. If you’re not a fan of semi-sweet chocolate, you can use milk chocolate or dark chocolate instead. To make the balls easier to dip, ensure they are well chilled before coating them in chocolate. For a smoother chocolate coating, make sure the chocolate is fully melted and the coconut oil is well incorporated.
Recipe Variations
- Add a teaspoon of vanilla extract to the peanut butter mixture for extra flavor.
- Mix in mini chocolate chips or chopped nuts into the peanut butter mixture for added texture.
- Use white chocolate or butterscotch chips instead of semi-sweet chocolate for a different flavor profile.
- Roll the finished balls in sprinkles, crushed cookies, or coconut flakes for a decorative touch.
- For a healthier version, use natural peanut butter and reduce the amount of powdered sugar.
Frequently Asked Questions
Can I use crunchy peanut butter instead of creamy?
Yes, you can use crunchy peanut butter if you prefer a bit of texture in your peanut butter balls. Just keep in mind that the balls might not be as smooth when rolling them.
How long do these peanut butter balls last?
Stored in an airtight container in the refrigerator, these peanut butter balls can last up to 2 weeks. You can also freeze them for up to 3 months.
Can I make these without coconut oil?
Yes, the coconut oil is used to thin the chocolate for easier dipping, but you can omit it if you prefer. Just be aware that the chocolate might be thicker and harder to work with.
Summary
These chocolate peanut butter balls are a no-bake, easy-to-make treat that’s perfect for any occasion. With simple ingredients and customizable options, they’re sure to be a hit with everyone.