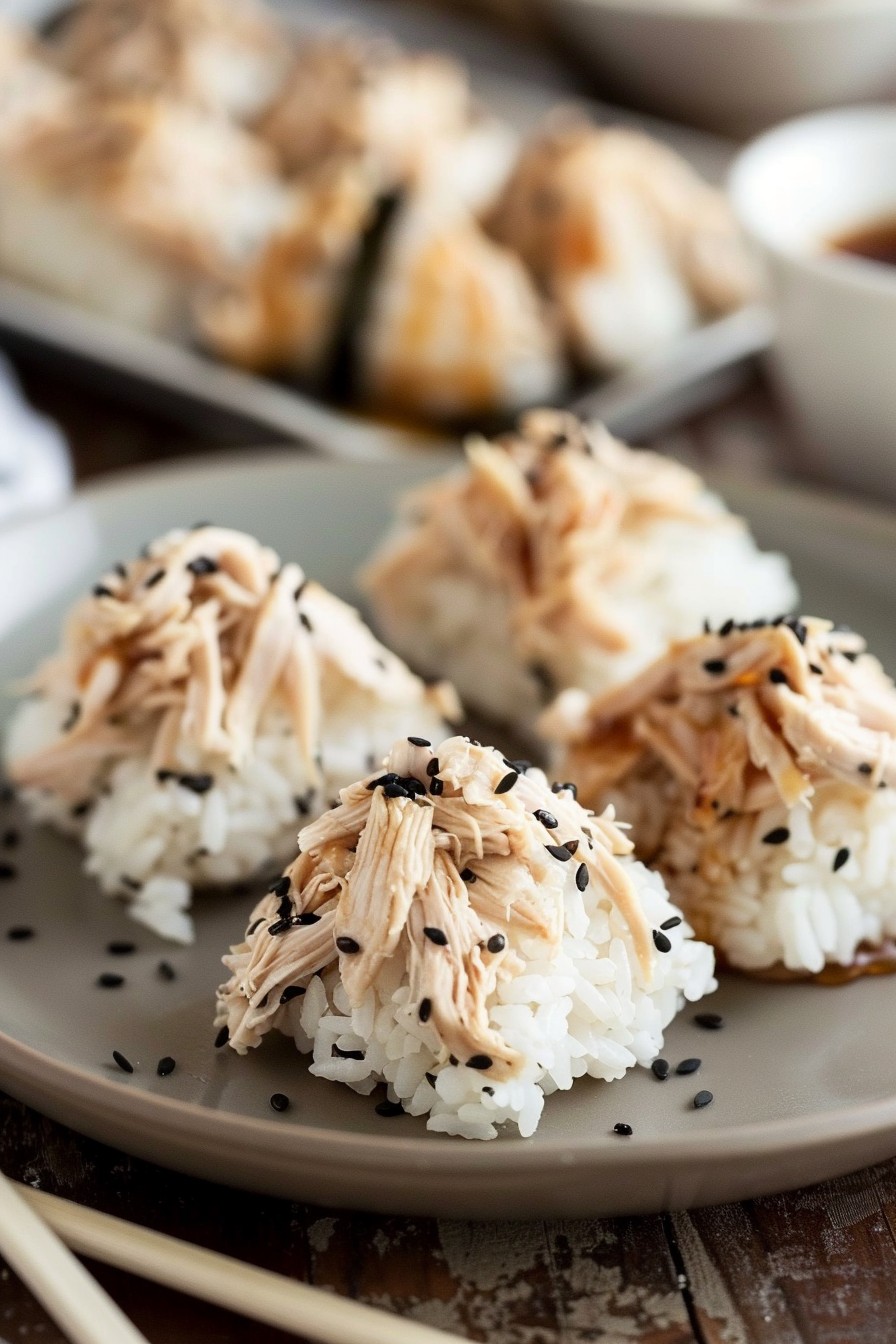
Gather around, food lovers! Today, we’re diving into the delightful world of onigiri with a twist that’ll make your taste buds dance. This chicken onigiri recipe is not only easy to make but also packs a punch of flavor that’s hard to resist. Perfect for lunch boxes, picnics, or a quick snack, this recipe is about to become your new favorite.
Why This Recipe Works
- Flavorful Chicken Filling: The chicken is marinated and cooked to perfection, ensuring every bite is juicy and packed with flavor.
- Perfectly Seasoned Rice: The rice is lightly seasoned with just the right amount of salt and a hint of vinegar, making it the ideal base for the onigiri.
- Easy to Customize: Whether you prefer your onigiri plain or wrapped in nori, this recipe is versatile to suit your taste.
- Great for On-the-Go: These portable rice balls are perfect for busy days when you need a quick and satisfying meal.
Ingredients
- 2 cups sushi rice, rinsed and drained
- 2 cups water
- 1 tablespoon rice vinegar
- 1 teaspoon salt
- 1 cup cooked chicken, shredded
- 2 tablespoons soy sauce
- 1 tablespoon honey
- 1 teaspoon ginger, grated
- 1 clove garlic, minced
- Nori sheets, cut into strips (optional)
Equipment Needed
- Rice cooker or pot with lid
- Mixing bowls
- Measuring cups and spoons
- Plastic wrap or onigiri mold (optional)
Instructions
Step 1: Cook the Rice
Combine the rinsed sushi rice and water in a rice cooker or pot. If using a pot, bring to a boil, then reduce heat to low, cover, and simmer for 20 minutes. Let it stand covered for 10 minutes after cooking. Transfer the rice to a large bowl and gently mix in the rice vinegar and salt. Let it cool slightly.
Step 2: Prepare the Chicken Filling
In a bowl, mix the shredded chicken with soy sauce, honey, ginger, and garlic until well combined. Let it marinate for at least 10 minutes to allow the flavors to meld.
Step 3: Shape the Onigiri
Wet your hands with water to prevent sticking. Take a handful of rice and flatten it in your palm. Place a spoonful of the chicken mixture in the center, then mold the rice around it to form a triangle or ball shape. Repeat with the remaining rice and filling.
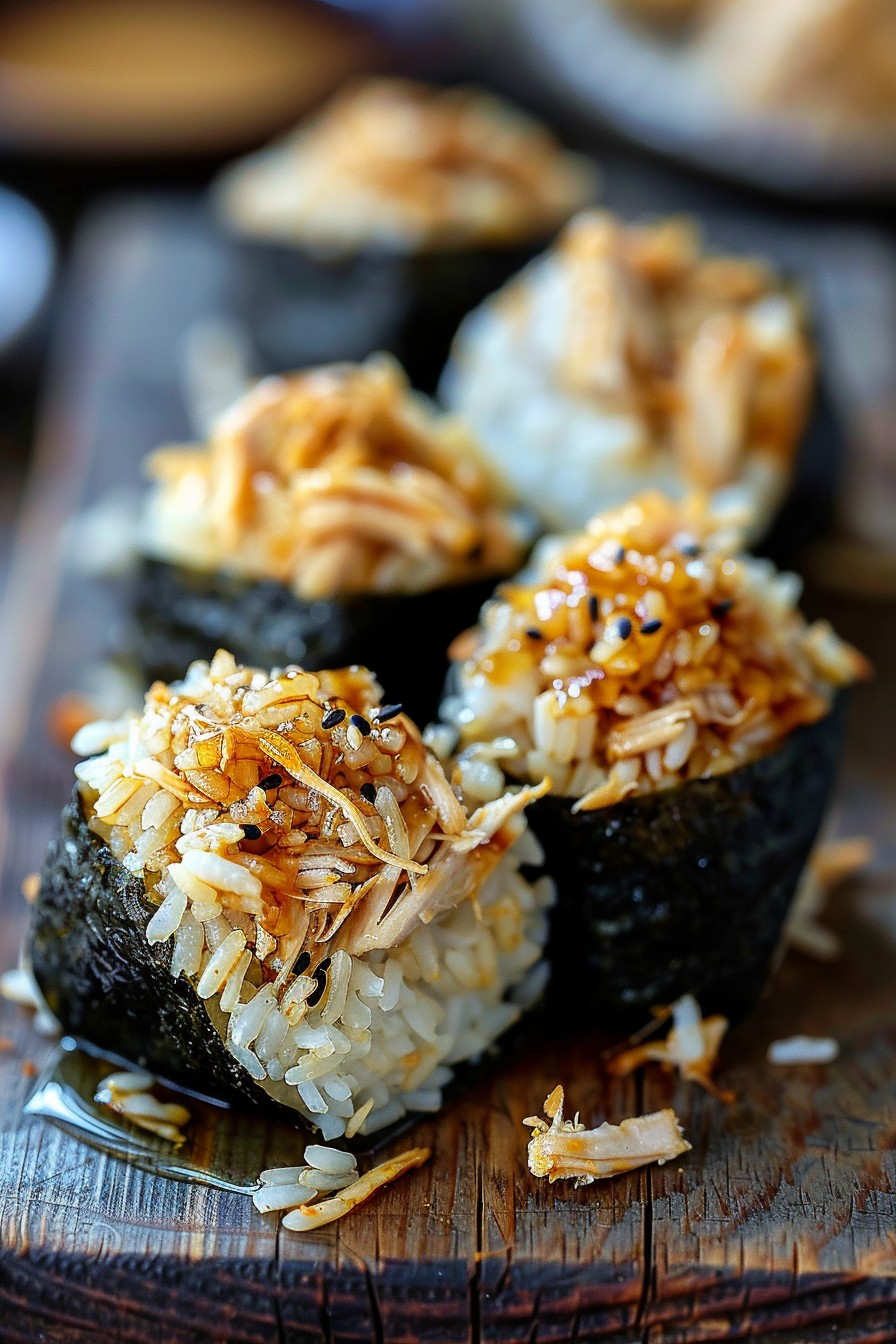
Step 4: Wrap with Nori (Optional)
If using, wrap a strip of nori around each onigiri. This not only adds flavor but also makes it easier to hold.
Step 5: Serve and Enjoy
Your chicken onigiri is ready to be enjoyed! Serve immediately or wrap individually for later. They’re best eaten the same day but can be refrigerated for up to 24 hours.
Tips and Tricks
- Rice Consistency: For the best texture, use sushi rice and avoid overcooking it. The rice should be sticky but not mushy.
- Marinating Time: The longer you marinate the chicken, the more flavorful it will be. Overnight marination is ideal if you have the time.
- Shaping Tools: If shaping by hand is tricky, use an onigiri mold or plastic wrap to help form perfect shapes.
- Storage: To keep onigiri fresh, wrap them individually in plastic wrap and store in an airtight container in the fridge.
Recipe Variations
- Spicy Chicken Onigiri: Add a teaspoon of sriracha or chili flakes to the chicken mixture for a spicy kick.
- Vegetarian Option: Replace the chicken with sautéed mushrooms or tofu for a vegetarian version.
- Different Fillings: Experiment with fillings like tuna mayo, salmon, or pickled plum for variety.
- Seasoned Rice: Mix furikake (Japanese rice seasoning) into the rice for an extra layer of flavor.
Frequently Asked Questions
Can I use brown rice instead of sushi rice?
While you can use brown rice, keep in mind that it won’t be as sticky as sushi rice, making it harder to shape the onigiri. If you’re set on using brown rice, consider adding a bit more water to help it stick together.
How do I prevent the rice from sticking to my hands?
Wetting your hands with water before handling the rice is key. You can also use a bit of salt on your hands to further prevent sticking.
Can I make onigiri ahead of time?
Yes, you can prepare onigiri a few hours ahead. Just wrap them tightly in plastic wrap to prevent them from drying out. However, they’re best enjoyed fresh.
Summary
This chicken onigiri recipe is a delightful twist on the traditional Japanese rice ball, featuring a flavorful chicken filling wrapped in perfectly seasoned rice. Easy to make and customizable, it’s perfect for meals on the go. With tips for perfect rice and creative variations, you’ll love making and eating these tasty treats.