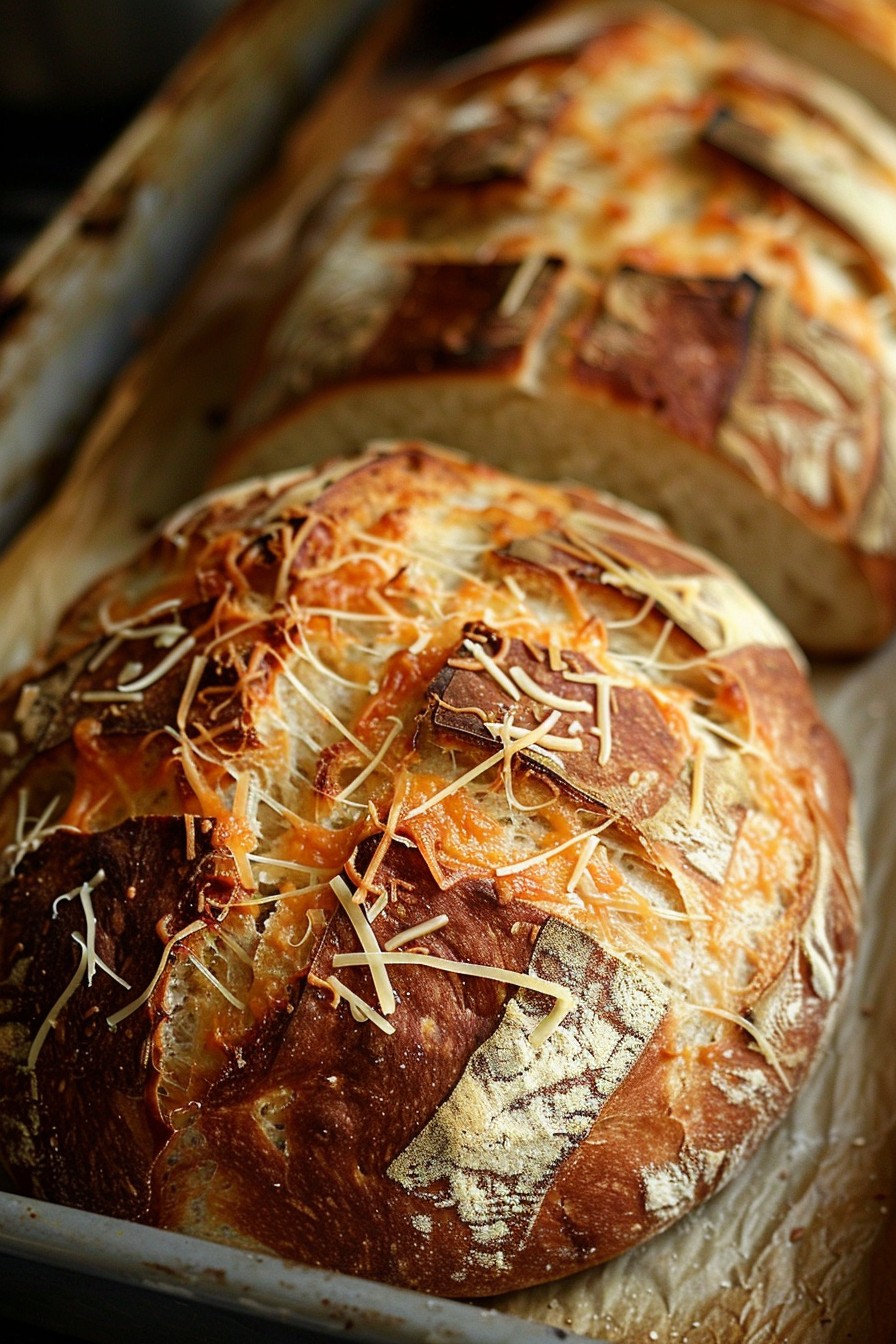
Get ready to bake the most flavorful Asiago cheese sourdough bread that will make your kitchen smell like a bakery. This recipe combines the tangy taste of sourdough with the rich, nutty flavor of Asiago cheese for a bread that’s irresistible.
Why This Recipe Works
- The combination of sourdough and Asiago cheese creates a perfect balance of tangy and nutty flavors.
- Using a starter gives the bread a complex flavor profile and a chewy texture that’s hard to achieve with commercial yeast.
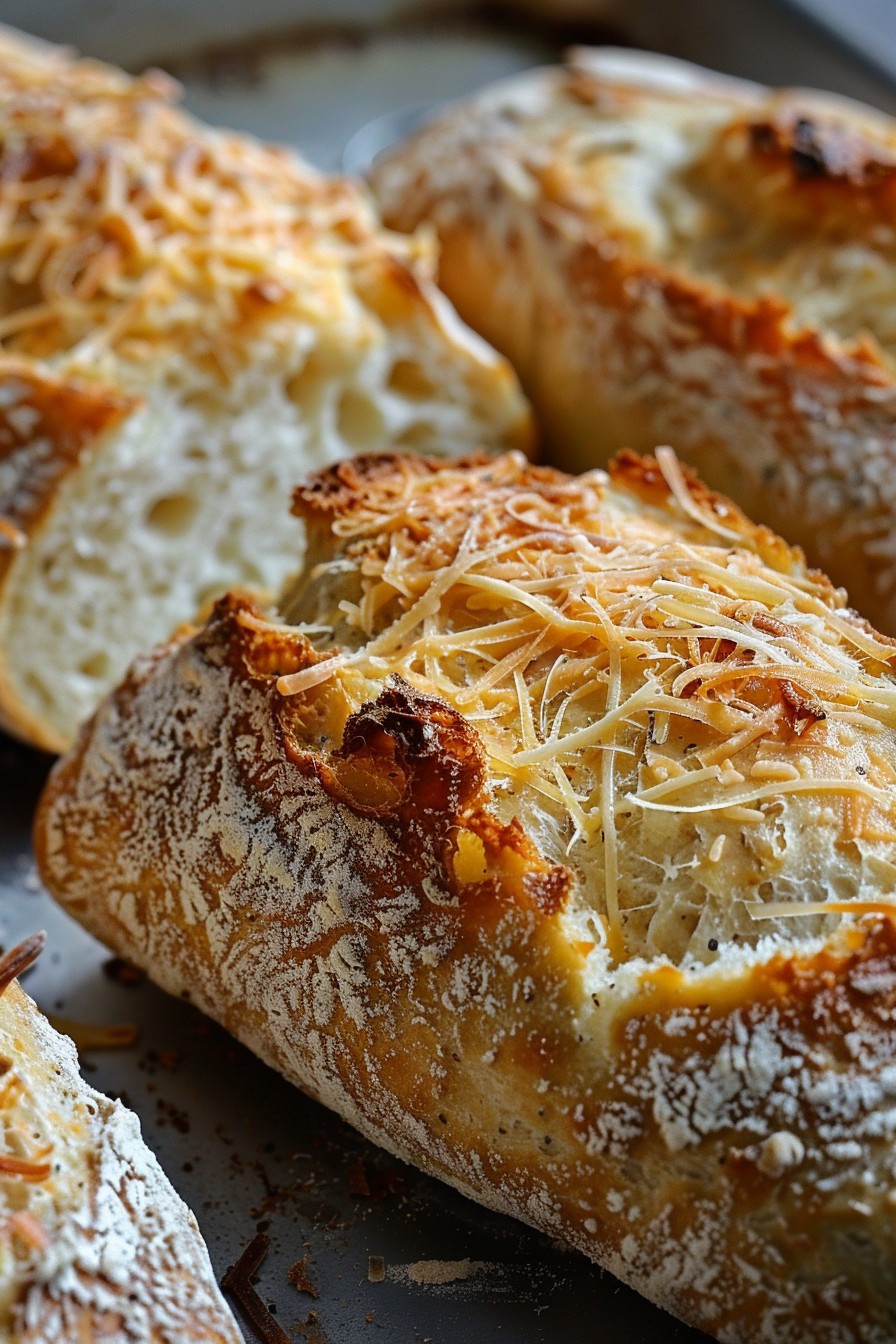
- The crust turns out golden and crispy, while the inside stays soft and airy, making every bite a delight.
Ingredients
- 1 cup active sourdough starter
- 3 cups bread flour
- 1 cup grated Asiago cheese
- 1 1/2 cups warm water
- 1 1/2 tsp salt
Equipment Needed
- Large mixing bowl
- Dough scraper
- Baking stone or Dutch oven
- Kitchen scale (optional)
Instructions
Step 1: Mix the Dough
In a large mixing bowl, combine the sourdough starter, bread flour, and warm water. Mix until just combined, then let it rest for 30 minutes. This autolyse step helps the flour absorb water and starts gluten development. After resting, add the salt and Asiago cheese, mixing until fully incorporated.
Step 2: Bulk Fermentation
Cover the bowl with a damp towel and let the dough rise at room temperature (about 75°F) for 4-6 hours. During this time, perform a series of stretch and folds every 30 minutes for the first 2 hours. This strengthens the gluten and incorporates air into the dough.
Step 3: Shape the Dough
Turn the dough out onto a lightly floured surface and shape it into a round or oval loaf. Place it seam side up in a proofing basket or a bowl lined with a floured towel. Cover and let it proof at room temperature for another 1-2 hours, or until it passes the poke test.
Step 4: Preheat and Score
Preheat your oven to 450°F with a baking stone or Dutch oven inside for at least 30 minutes. Carefully transfer the dough to the preheated vessel, score the top with a sharp knife or lame, and cover with the lid if using a Dutch oven.
Step 5: Bake to Perfection
Bake covered for 20 minutes, then remove the lid and bake for another 25-30 minutes, or until the crust is deep golden brown and the internal temperature reaches 210°F. Let the bread cool on a wire rack for at least an hour before slicing.
Tips and Tricks
For an even more flavorful bread, try using aged Asiago cheese. The older the cheese, the more intense the flavor. If your kitchen is cooler, the dough may take longer to rise; consider placing it in a slightly warm spot. To achieve a crispier crust, spray the dough with water before baking or place a pan of water in the oven to create steam.
Recipe Variations
- Add herbs like rosemary or thyme to the dough for an aromatic twist.
- Mix in sun-dried tomatoes and olives for a Mediterranean flair.
- For a spicier version, incorporate chopped jalapeños or red pepper flakes.
Frequently Asked Questions
Can I use a different type of cheese?
Absolutely! While Asiago cheese gives this bread its distinctive flavor, you can substitute it with Parmesan, Pecorino Romano, or any hard cheese you prefer. Just keep in mind that the flavor profile will change based on the cheese you choose.
How do I know if my sourdough starter is active enough?
An active starter should double in size within 4-6 hours after feeding and have a bubbly, frothy surface. If your starter isn’t showing these signs, it might need a few more feedings before it’s ready to use in this recipe.
Can I make this bread without a Dutch oven?
Yes, you can bake the bread on a baking stone or a regular baking sheet. To mimic the steam environment of a Dutch oven, place a pan of boiling water on the bottom rack of the oven during the first 20 minutes of baking.
Summary
This Asiago cheese sourdough bread recipe is a must-try for anyone who loves baking. With its perfect balance of flavors and textures, it’s sure to become a favorite. Follow the steps carefully, and don’t be afraid to experiment with variations to make it your own.