Baking a pot pie from scratch sounds like a chore, but with this Bisquick pot pie crust recipe, it’s a breeze. Forget about the hassle of traditional pie crusts; this version is foolproof, delicious, and ready in no time.
Why This Recipe Works
- Bisquick mix simplifies the process, eliminating the need for measuring out flour, baking powder, and salt separately.
- The addition of butter ensures a flaky, tender crust that rivals any homemade version.
- This recipe is versatile, working perfectly with both chicken and vegetable fillings.
- It’s a time-saver, allowing you to focus on crafting the perfect filling without worrying about the crust.
- Even beginners can achieve professional-looking results with this straightforward method.
Ingredients
- 2 cups Bisquick mix
- 1/2 cup cold butter, cubed
- 1/4 cup ice water
Equipment Needed
- Mixing bowl
- Pastry cutter or fork
- Rolling pin
- 9-inch pie dish
Instructions
Step 1: Combine Bisquick and Butter
In a large mixing bowl, combine the Bisquick mix and cold, cubed butter. Use a pastry cutter or fork to blend the butter into the mix until the mixture resembles coarse crumbs. This step is crucial for achieving that flaky texture we all love in a pot pie crust.
Step 2: Add Ice Water
Gradually add the ice water to the mixture, stirring until the dough just comes together. Be careful not to overmix, as this can make the crust tough. The dough should be slightly sticky but manageable.
Step 3: Roll Out the Dough
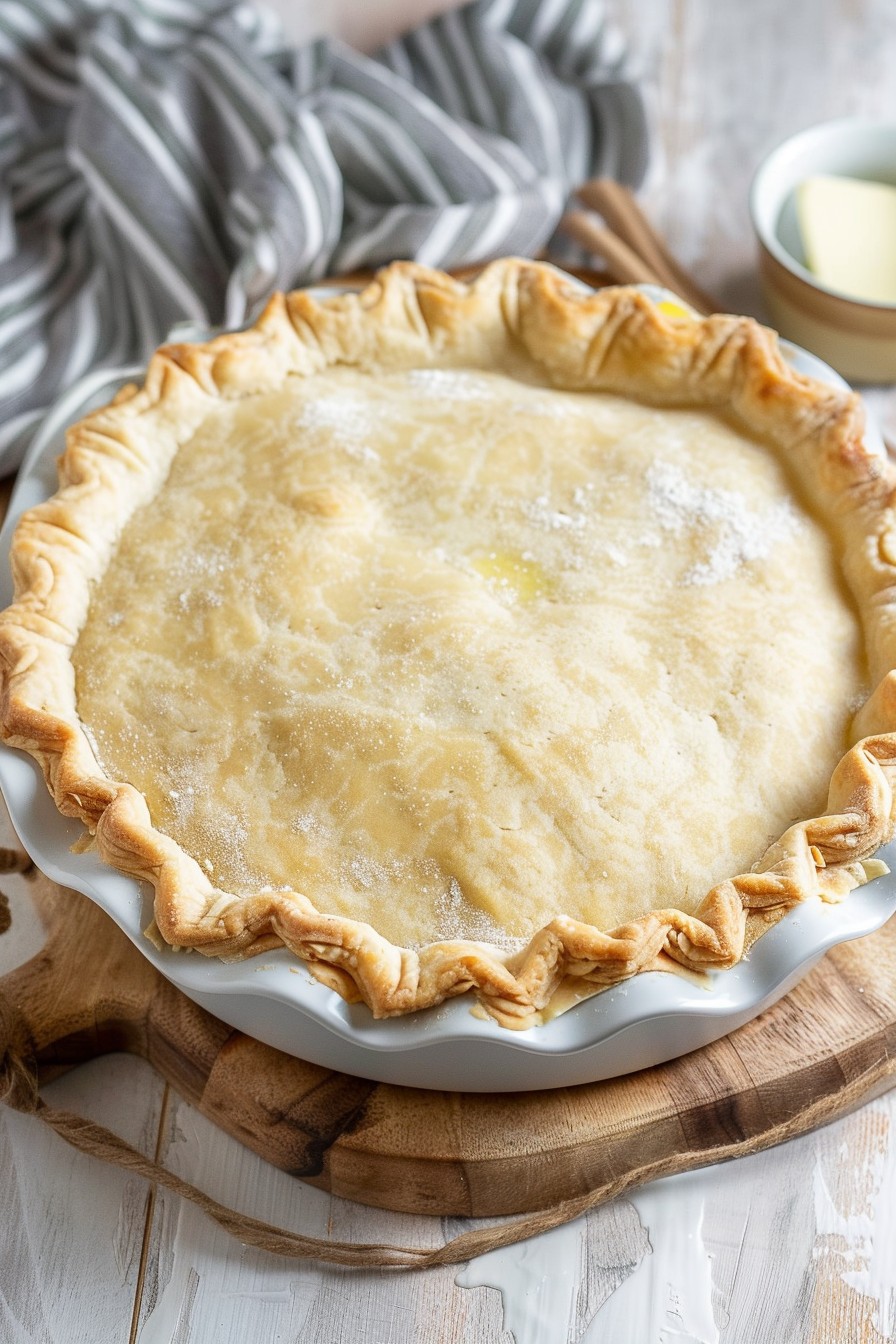
Transfer the dough to a lightly floured surface and roll it out to fit your 9-inch pie dish. Aim for about 1/4 inch thickness for the perfect balance between sturdy and tender.
Step 4: Fit the Dough into the Pie Dish
Carefully place the rolled-out dough into the pie dish, pressing gently to fit. Trim any excess dough from the edges, leaving about a 1-inch overhang for crimping.
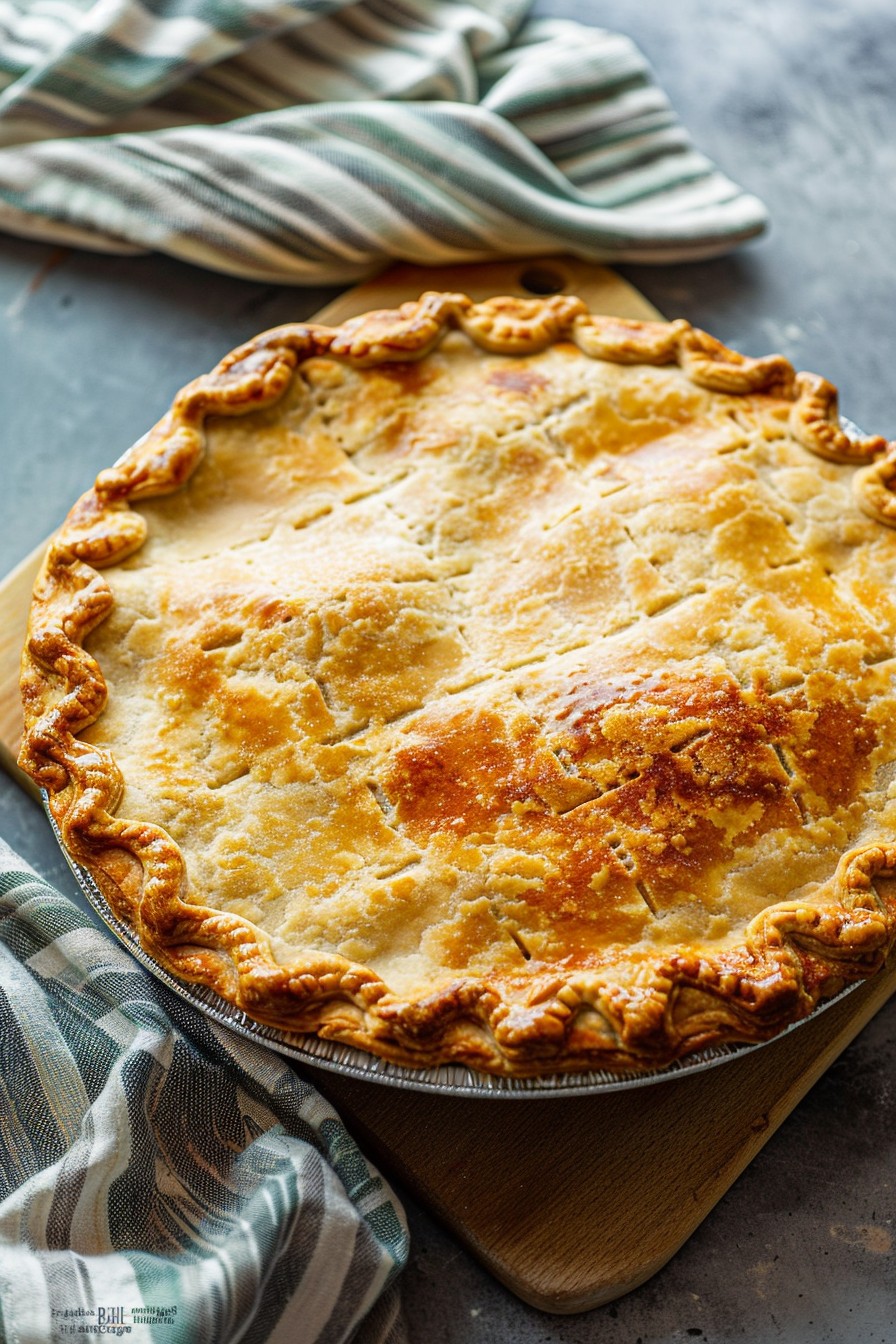
Step 5: Crimp the Edges and Bake
Fold the overhang under itself and crimp the edges with your fingers or a fork for a decorative finish. If pre-baking, prick the bottom with a fork and bake at 375°F for about 10 minutes, or until lightly golden.
Tips and Tricks
For an even flakier crust, freeze the cubed butter for about 10 minutes before mixing it with the Bisquick. This ensures the butter stays cold, which is key to flakiness. If you’re in a hurry, you can use a food processor to blend the butter and Bisquick, but pulse carefully to avoid overmixing. For a golden finish, brush the crust with an egg wash before baking. And remember, letting the dough rest in the fridge for 30 minutes before rolling can make it easier to handle.
Recipe Variations
- For a cheesy twist, mix in 1/2 cup of grated cheddar cheese into the dough before adding water.
- Add herbs like thyme or rosemary to the dough for an aromatic flavor boost.
- For a gluten-free version, use gluten-free Bisquick mix.
- Swap out the butter for cold coconut oil for a dairy-free alternative.
- For a sweet pot pie, add a tablespoon of sugar to the dough and fill with fruit instead of savory ingredients.
Frequently Asked Questions
Can I make the dough ahead of time?
Absolutely! You can prepare the dough up to 2 days in advance. Just wrap it tightly in plastic wrap and store it in the refrigerator. When you’re ready to use it, let it sit at room temperature for a few minutes to make rolling easier.
Why is my crust tough?
Overmixing the dough is the usual culprit. When you add the water, mix just until the dough comes together. Also, using warm butter can lead to a tough crust, so keep everything as cold as possible.
Can I freeze the baked pot pie with this crust?
Yes, this crust freezes beautifully. After baking, let the pie cool completely, then wrap it tightly in foil or plastic wrap before freezing. To reheat, bake at 350°F until warmed through, about 30 minutes.
Summary
This Bisquick pot pie crust recipe is a game-changer for anyone who loves pot pie but dreads making the crust from scratch. It’s easy, versatile, and delicious, with a flaky texture that’s sure to impress. Whether you’re a seasoned baker or a novice, this recipe is bound to become a staple in your kitchen.