Ready to dive into the world of homemade chocolate truffles? Rich, creamy, and utterly indulgent, these little spheres of joy are easier to make than you might think. Perfect for gifting or treating yourself, let’s get rolling!
Why This Recipe Works
- Uses simple, high-quality ingredients for the best flavor.
- No special equipment needed, just your hands and a little patience.
- Customizable with endless coating and flavor variations.
- Perfect make-ahead dessert for any occasion.
- Impresses everyone with minimal effort.
Ingredients
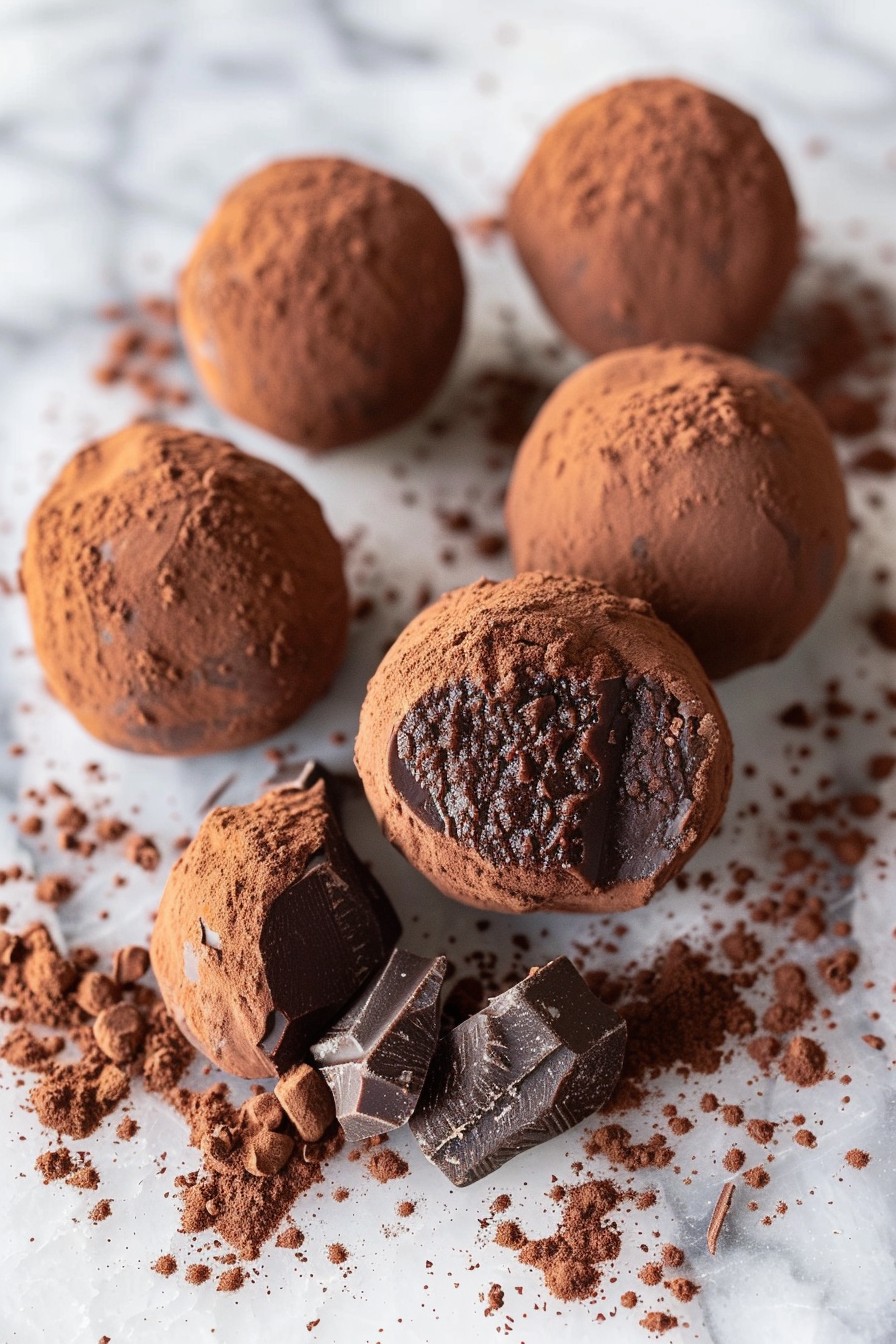
- 8 oz high-quality dark chocolate, finely chopped
- 1/2 cup heavy cream
- 2 tbsp unsalted butter, room temperature
- 1 tsp vanilla extract
- Pinch of salt
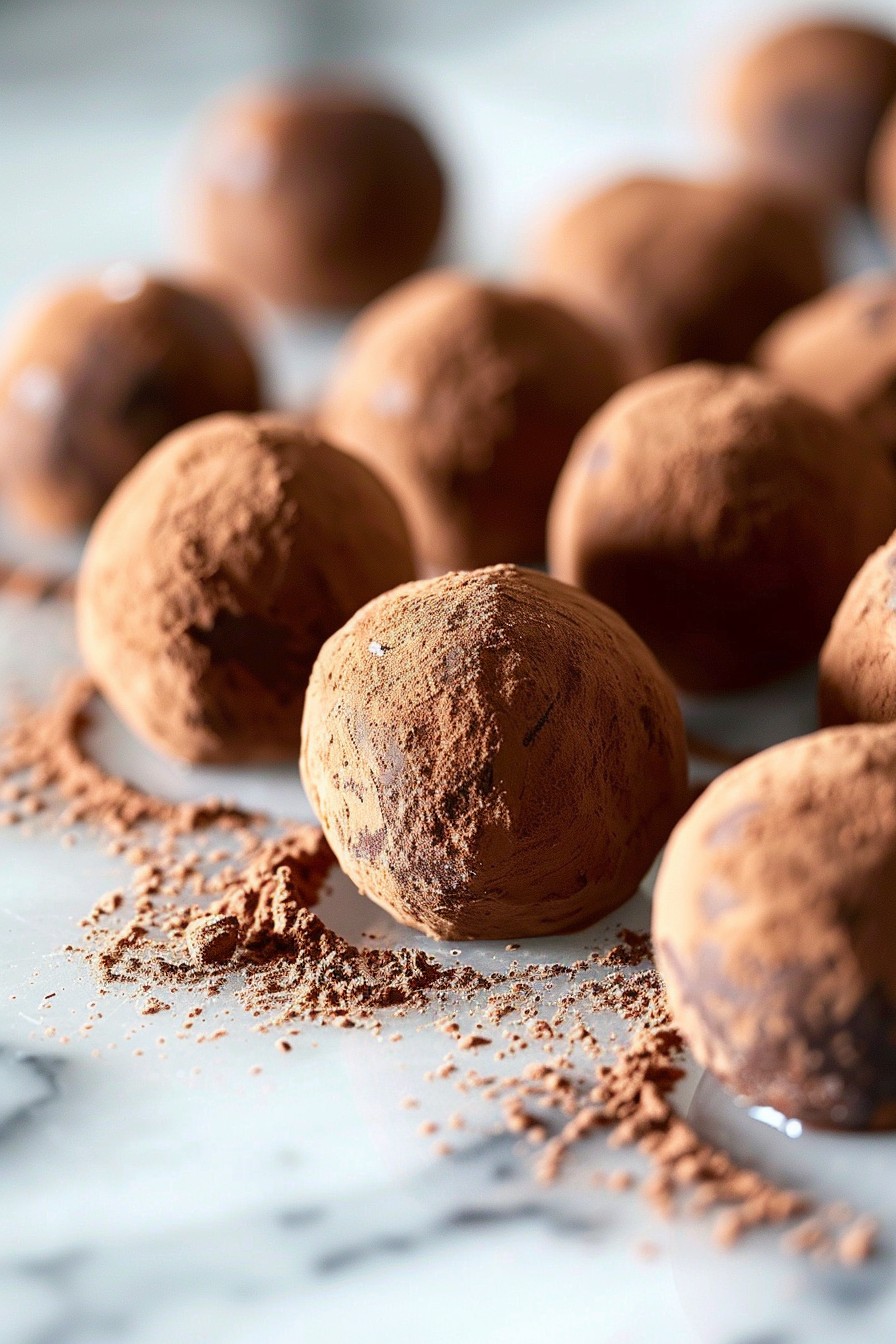
- Cocoa powder, for coating
Equipment Needed
- Medium saucepan
- Heatproof bowl
- Whisk
- Measuring cups and spoons
- Baking sheet
- Parchment paper
Instructions
Step 1: Melt the Chocolate
Place the finely chopped chocolate in a heatproof bowl. In a medium saucepan, heat the heavy cream over medium heat until it just begins to simmer. Pour the hot cream over the chocolate and let it sit for 2 minutes to soften the chocolate. Add the butter, vanilla extract, and a pinch of salt. Whisk until smooth and glossy. Tip: Ensure all your chocolate is submerged under the hot cream for even melting.
Step 2: Chill the Mixture
Cover the bowl with plastic wrap, pressing it directly onto the surface of the chocolate to prevent a skin from forming. Refrigerate for at least 2 hours, or until the mixture is firm enough to scoop. Tip: For faster chilling, you can place the bowl in the freezer for about 45 minutes, checking every 15 minutes to avoid over-hardening.
Step 3: Shape the Truffles
Using a small cookie scoop or a teaspoon, scoop out portions of the chilled chocolate mixture. Roll each portion between your palms to form a smooth ball. If the mixture becomes too soft, return it to the fridge for a few minutes. Place the shaped truffles on a parchment-lined baking sheet. Tip: Wearing gloves can prevent the chocolate from melting too quickly from the heat of your hands.
Step 4: Coat the Truffles
Roll each truffle in cocoa powder until fully coated. You can also use chopped nuts, coconut flakes, or powdered sugar for variety. Place the coated truffles back on the baking sheet. Tip: For a smoother coating, sift the cocoa powder over the truffles instead of rolling them.
Step 5: Final Chill
Once all truffles are coated, chill them in the refrigerator for another 30 minutes to set. This step ensures they hold their shape and have the perfect texture when bitten into.
Tips and Tricks
For those looking to elevate their truffle game, consider tempering the chocolate for a shinier, more professional finish. Adding a splash of liqueur like Grand Marnier or Bailey’s can introduce an adult twist to the recipe. If you’re short on time, the truffle mixture can be made up to 3 days in advance and stored in the fridge until ready to shape and coat. For a vegan version, substitute the heavy cream with full-fat coconut milk and use dairy-free chocolate. Always use the best quality chocolate you can find, as it’s the star of the show.
Recipe Variations
- White Chocolate Truffles: Substitute dark chocolate with white chocolate and roll in crushed freeze-dried strawberries.
- Mint Chocolate Truffles: Add 1/4 tsp peppermint extract to the mixture and coat with dark chocolate sprinkles.
- Spicy Truffles: Mix in a pinch of cayenne pepper with the chocolate for a spicy kick.
- Nutty Truffles: Stir in 1/4 cup finely chopped toasted nuts into the mixture before chilling.
- Orange Zest Truffles: Add the zest of one orange to the mixture for a citrusy flavor.
Frequently Asked Questions
Can I use milk chocolate instead of dark chocolate?
Absolutely! Milk chocolate will yield a sweeter, creamier truffle. Just keep in mind that milk chocolate is softer than dark chocolate, so your truffles might be a bit more delicate. You may need to chill them longer to firm up properly.
How long do homemade truffles last?
Stored in an airtight container in the refrigerator, your truffles will stay fresh for up to 2 weeks. For longer storage, you can freeze them for up to 3 months. Just thaw in the fridge overnight before serving.
Can I make these truffles without dairy?
Yes, you can make dairy-free truffles by using full-fat coconut milk in place of heavy cream and dairy-free chocolate. The texture and flavor will be slightly different but still delicious.
Summary
These chocolate truffles are the perfect combination of simplicity and elegance. With just a few ingredients and some patience, you can create a luxurious treat that’s sure to impress. Whether you stick to the classic recipe or experiment with variations, the result is always a bite-sized piece of heaven.