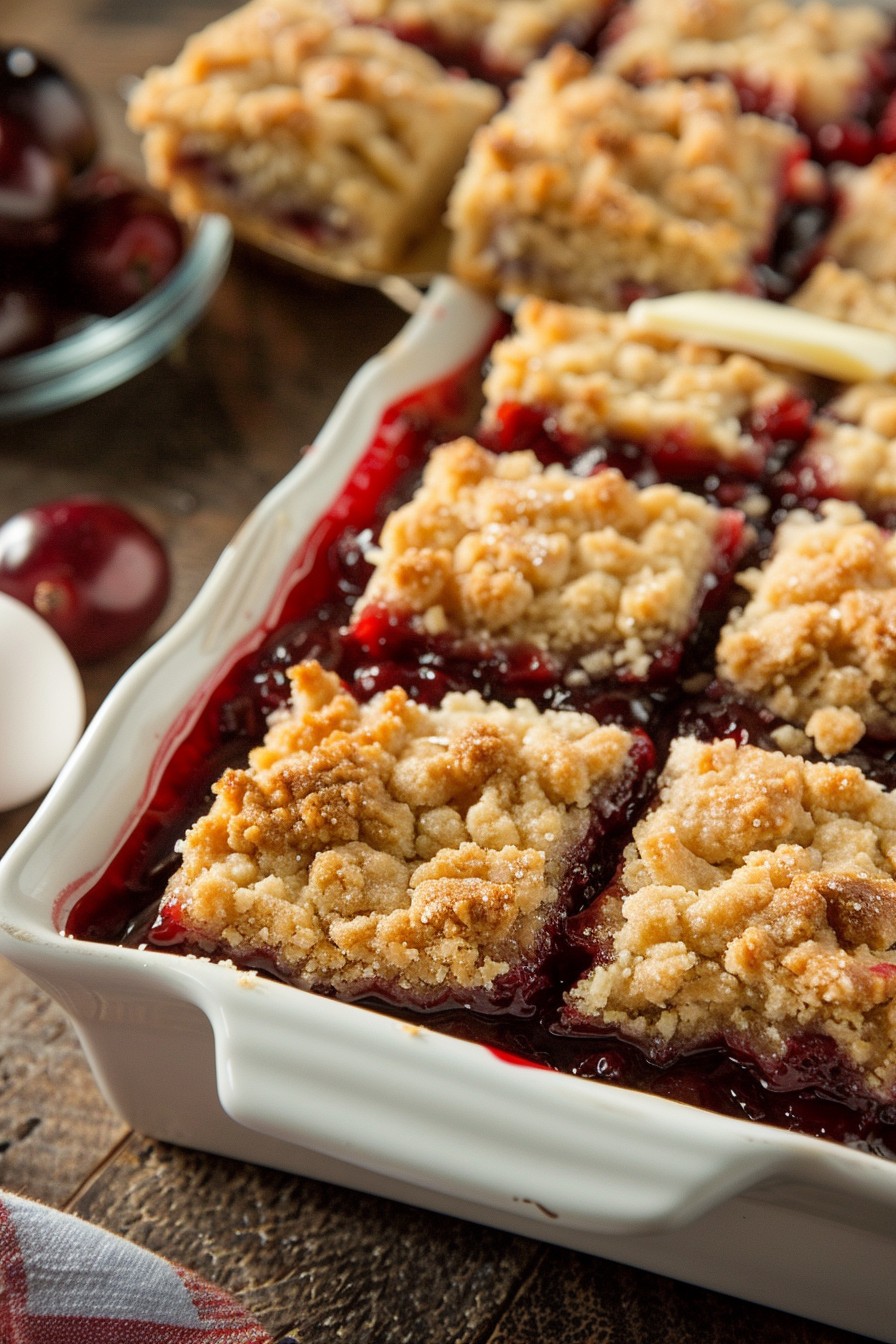
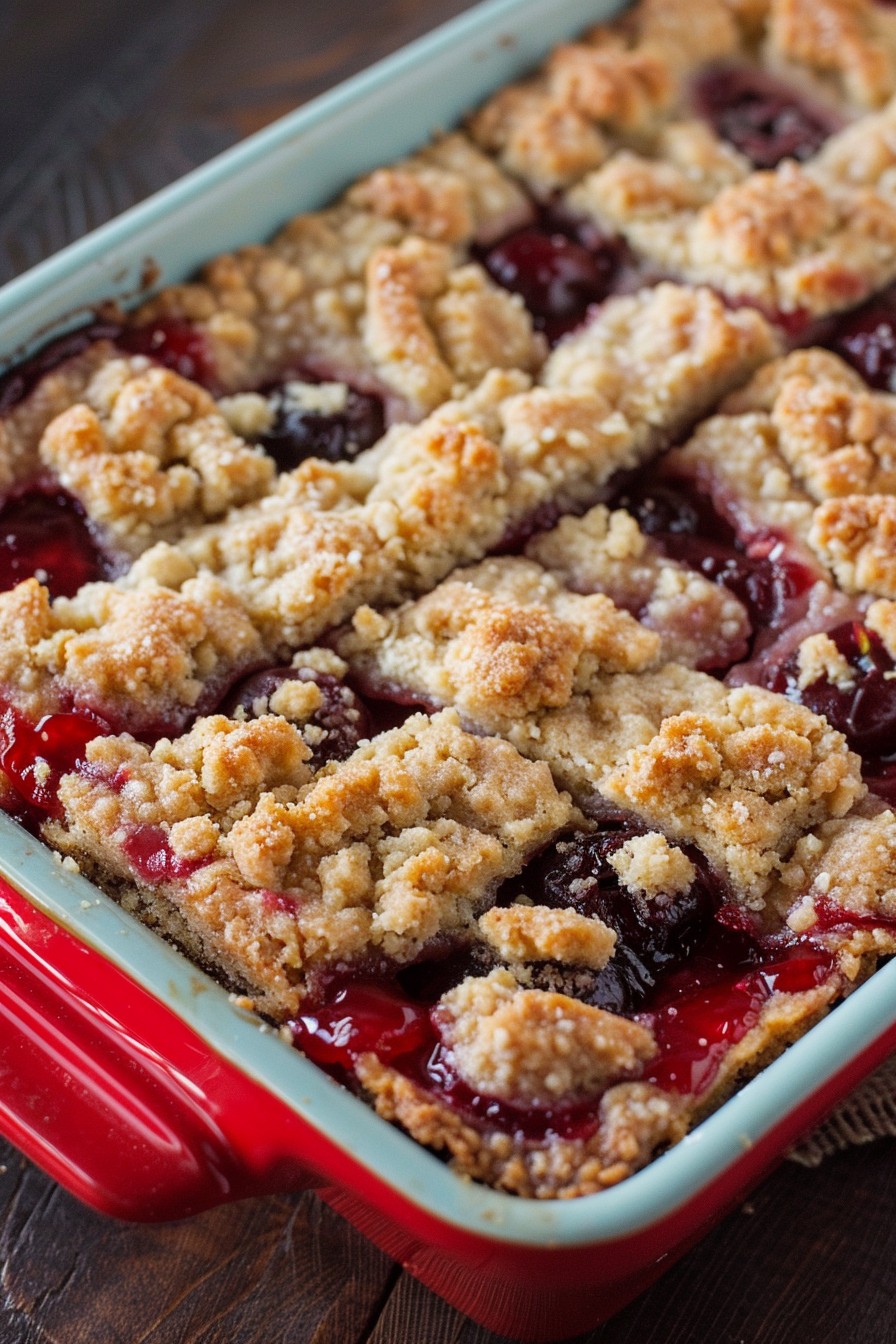
Oh, the joy of biting into a perfectly baked cherry square, where the buttery crust meets the sweet, tangy cherry pie filling. This recipe is your ticket to dessert paradise, combining simplicity with decadence in every bite.
Why This Recipe Works
- The buttery crust provides a crispy, golden base that contrasts beautifully with the soft, juicy cherry filling.
- Using store-bought pie filling saves time without sacrificing flavor, making this recipe a breeze to whip up.
- The crumb topping adds an extra layer of texture and flavor, making each bite irresistible.
- Perfect for any occasion, from casual family dinners to fancy gatherings.
- Customizable with different pie fillings for those who like to mix things up.
Ingredients
- 2 cups all-purpose flour
- 1 cup granulated sugar
- 1/2 teaspoon baking powder
- 1/2 teaspoon salt
- 1 cup unsalted butter, cold and cubed
- 1 large egg
- 1 teaspoon vanilla extract
- 1 can (21 oz) cherry pie filling
Equipment Needed
- 9×13 inch baking pan
- Mixing bowls
- Pastry cutter or fork
- Measuring cups and spoons
- Oven
Instructions
Step 1: Preheat and Prepare
Preheat your oven to 350°F (175°C) and lightly grease your 9×13 inch baking pan. This ensures your cherry squares won’t stick and will come out perfectly every time. Tip: For extra non-stick insurance, you can line the pan with parchment paper, leaving some overhang for easy removal.
Step 2: Mix the Dry Ingredients
In a large mixing bowl, whisk together the flour, sugar, baking powder, and salt. This combination creates the foundation of your crust and topping, so make sure it’s well mixed. Tip: Sifting the flour can help achieve a lighter texture in your crust.
Step 3: Incorporate the Butter
Add the cold, cubed butter to the dry ingredients. Using a pastry cutter or fork, work the butter into the flour mixture until it resembles coarse crumbs. This step is crucial for that perfect, flaky crust. Tip: The butter should be cold to ensure the crust is flaky, not greasy.
Step 4: Add Wet Ingredients
Beat the egg and vanilla extract together in a small bowl, then add to the flour mixture. Stir until the dough comes together. Press half of this mixture into the bottom of your prepared pan to form the crust.
Step 5: Layer and Bake
Spread the cherry pie filling evenly over the crust. Crumble the remaining dough over the top. Bake for 45 minutes, or until the topping is golden brown. Let cool before cutting into squares.
Tips and Tricks
For those looking to elevate their cherry squares, consider these advanced tips. First, toasting the flour before using it can add a nutty depth to your crust. Second, a pinch of cinnamon or almond extract in the crust or topping can introduce a warm, complex flavor. Third, for a glossy finish, brush the top with a simple syrup after baking. Lastly, letting the squares cool completely before cutting ensures clean, sharp edges.
Recipe Variations
- Swap cherry pie filling for apple, blueberry, or peach for a different fruit flavor.
- Add a layer of cream cheese mixture between the crust and fruit filling for a creamy twist.
- Incorporate nuts or oats into the crumb topping for added crunch.
- Use a gluten-free flour blend to make this recipe gluten-free.
- Drizzle with chocolate or caramel sauce before serving for an extra decadent treat.
Frequently Asked Questions
Can I use fresh cherries instead of pie filling?
Absolutely! You can make your own cherry filling by pitting and cooking down fresh cherries with sugar and a bit of cornstarch to thicken. This allows you to control the sweetness and texture to your liking.
How do I store leftover cherry squares?
Store them in an airtight container at room temperature for up to 2 days, or in the refrigerator for up to 5 days. They can also be frozen for up to 3 months. Just thaw at room temperature before serving.
Can I make these squares ahead of time?
Yes, these squares are perfect for making ahead. Prepare and bake as directed, then store as mentioned above. They actually taste better the next day as the flavors have more time to meld.
Summary
This cherry squares recipe is a delightful blend of buttery crust and sweet cherry filling, perfect for any occasion. Easy to make and even easier to love, it’s a dessert that’s sure to impress.