Very few things compare to the rich, savory depth of homemade beef broth. Canning it ensures you have this liquid gold ready to elevate your dishes anytime. Let’s dive into making and preserving your own beef broth.
Why This Recipe Works
- Flavor Depth: Slow simmering extracts maximum flavor from bones and vegetables.
- Preservation: Canning locks in freshness, making it shelf-stable for months.
- Versatility: Use it as a base for soups, stews, or to cook grains for an extra flavor boost.
Ingredients
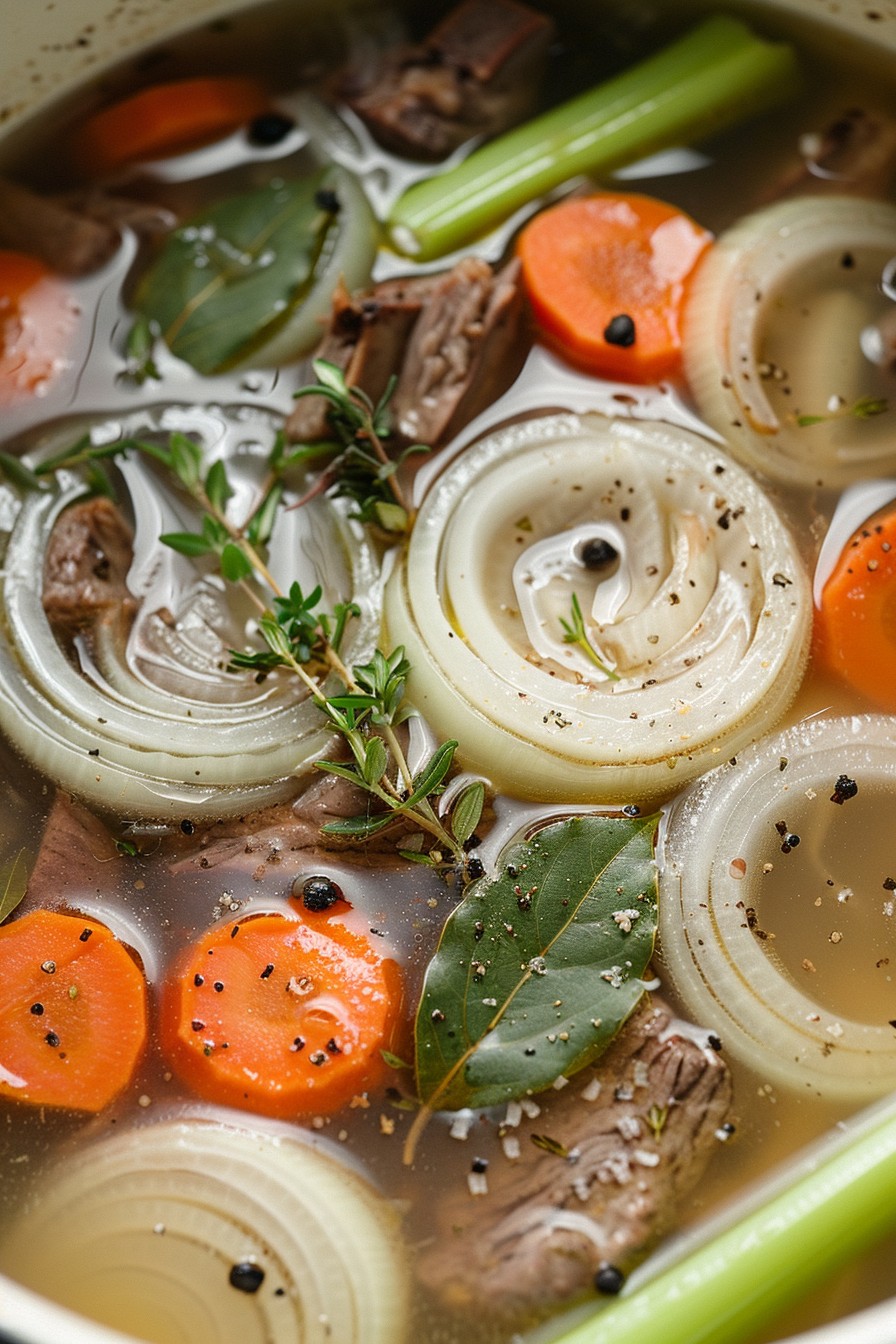
- 5 lbs beef bones (marrow or knuckle preferred)
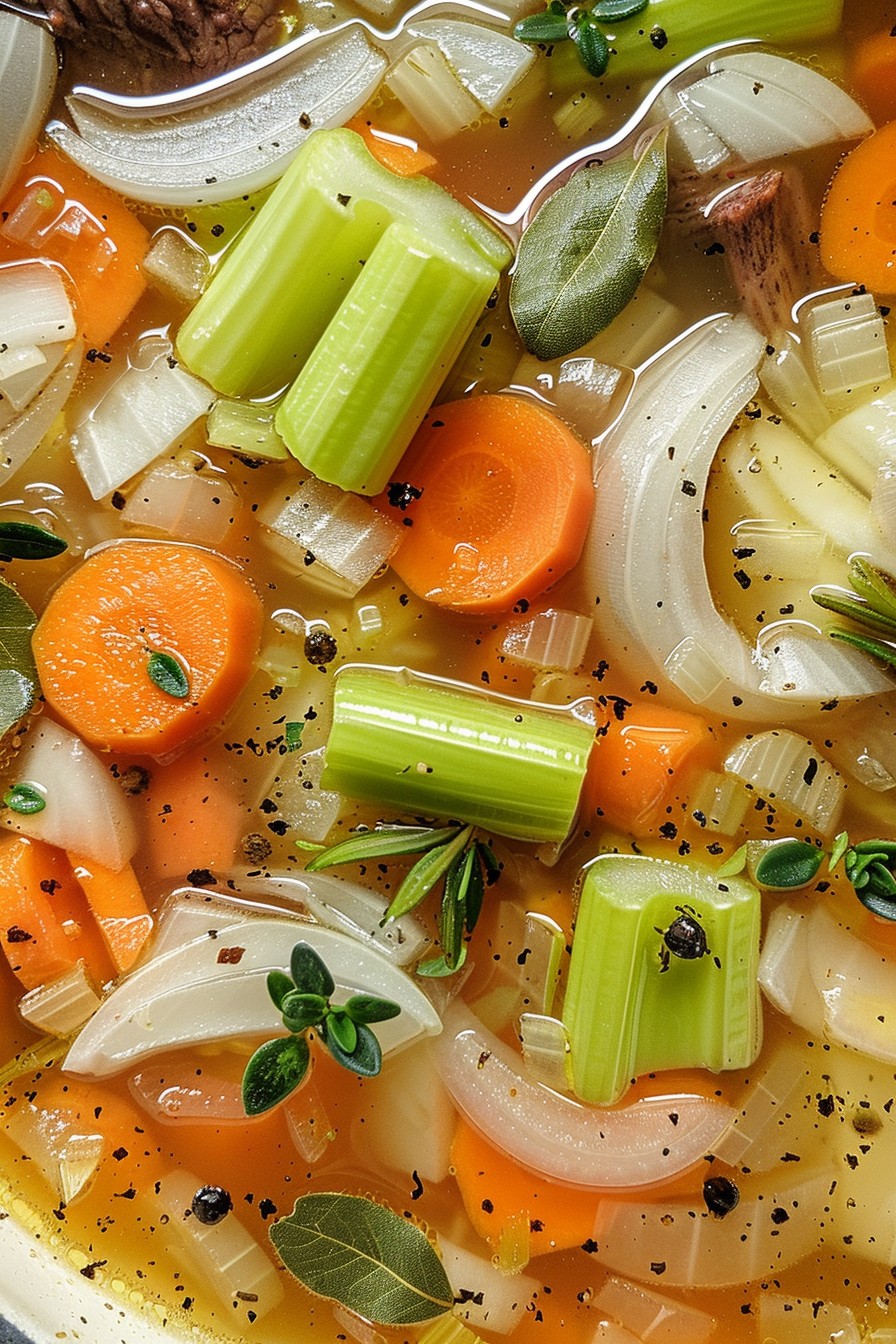
- 2 large onions, quartered
- 3 carrots, chopped
- 3 celery stalks, chopped
- 2 tbsp apple cider vinegar
- 1 tbsp salt
- 1 tsp black peppercorns
- 2 bay leaves
- Water to cover
Equipment Needed
- Large stockpot
- Canning jars with lids and bands
- Pressure canner
- Jar lifter
- Funnel
Instructions
Step 1: Roast the Bones and Vegetables
Preheat your oven to 400°F. Arrange the beef bones, onions, carrots, and celery on a large roasting pan. Roast for 30 minutes until they’re deeply browned. This step is crucial for developing a rich flavor base. Tip: Don’t skip the roasting; it’s the secret to depth.
Step 2: Simmer the Broth
Transfer the roasted bones and vegetables to a large stockpot. Add apple cider vinegar, salt, peppercorns, bay leaves, and enough water to cover everything by 2 inches. Bring to a boil, then reduce heat to a gentle simmer. Let it simmer uncovered for 12-24 hours. The longer it simmers, the more flavorful it becomes. Tip: Skim off any foam that rises to the top for a clearer broth.
Step 3: Strain and Prepare for Canning
After simmering, strain the broth through a fine-mesh sieve into a clean pot. Discard the solids. Let the broth cool slightly, then skim off any fat from the surface. This ensures your canned broth is clean and fat-free.
Step 4: Fill the Jars
Using a funnel, pour the hot broth into sterilized canning jars, leaving 1 inch of headspace. Wipe the rims clean, place the lids on, and screw the bands until fingertip tight. This prevents leaks during canning.
Step 5: Process in Pressure Canner
Place the jars in the pressure canner with 2-3 inches of water. Process pints for 20 minutes and quarts for 25 minutes at 10 pounds pressure. Adjust for altitude if necessary. Let the canner depressurize naturally before opening. Tip: Always check your canner’s manual for specific instructions.
Tips and Tricks
For those looking to take their beef broth to the next level, consider these advanced tips. First, adding a splash of red wine during the simmering process can introduce a subtle complexity to the flavor profile. Second, if you’re after a gelatinous broth, opt for bones with a high collagen content, like knuckles or feet. Lastly, for a clearer broth, avoid stirring during the simmering process and strain through a cheesecloth-lined sieve.
Recipe Variations
- Herbed Beef Broth: Add a bouquet garni of thyme, parsley, and rosemary during simmering for an aromatic twist.
- Spicy Kick: Include a few slices of ginger and a star anise for a warming, spicy note.
- Vegetable-Packed: Double up on the vegetables or add mushrooms for a more robust vegetable flavor.
Frequently Asked Questions
Can I use a slow cooker for this recipe?
Absolutely! A slow cooker is a great alternative for simmering the broth. Just set it on low and let it go for 24 hours. The key is to ensure it’s at a gentle simmer, not a boil, to extract flavors properly without clouding the broth.
How long does canned beef broth last?
Properly canned beef broth can last up to a year in a cool, dark place. Always check the seals before use; if the lid pops or the seal is broken, it’s best to discard it.
Can I can broth without a pressure canner?
No, broth must be processed in a pressure canner to ensure it’s safe for shelf storage. The high temperature achieved in a pressure canner is necessary to kill any potential bacteria, including botulism spores.
Summary
This beef broth canning recipe is your ticket to having rich, flavorful broth at your fingertips anytime. With a little patience and the right tools, you can preserve the essence of homemade broth for months to come.