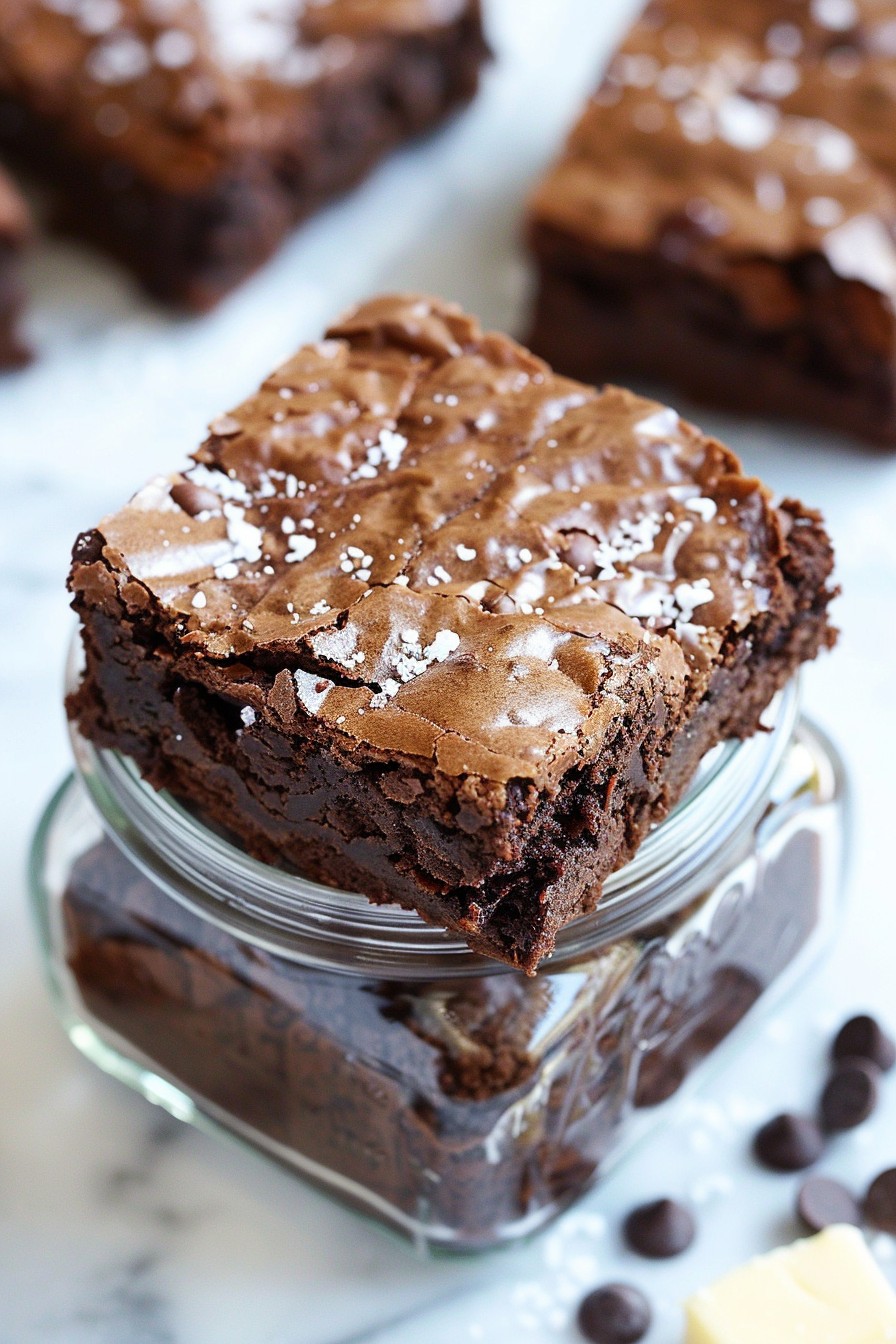
Every now and then, we stumble upon a recipe that’s not just delicious but also brings a smile to our faces. This chocolate brownie jar recipe does exactly that, combining the rich, fudgy goodness of brownies with the playful presentation of a jar. Perfect for gifting or treating yourself!
Why This Recipe Works
- It’s incredibly easy to make, requiring just a few simple ingredients and steps.
- The jar presentation makes it a perfect gift or a fun dessert for parties.
- You can customize it with your favorite add-ins like nuts, chocolate chips, or caramel.
- It’s a great way to enjoy brownies without the need for cutting or serving.
- The recipe is versatile, allowing for various dietary substitutions.
Ingredients
- 1 cup all-purpose flour
- 1 cup granulated sugar
- 1/2 cup unsweetened cocoa powder
- 1/2 teaspoon baking powder
- 1/4 teaspoon salt
- 1/2 cup melted butter
- 2 large eggs
- 1 teaspoon vanilla extract
- 1/2 cup chocolate chips
Equipment Needed
- Mixing bowls
- Whisk
- Measuring cups and spoons
- Jars (8 oz)
- Oven
Instructions
Preheat and Prepare
Start by preheating your oven to 350°F. While the oven heats up, grease your jars lightly with butter or cooking spray to prevent sticking. This ensures your brownies will slide out easily after baking.
Mix Dry Ingredients
In a large mixing bowl, whisk together the flour, sugar, cocoa powder, baking powder, and salt. This combination forms the base of your brownies, so make sure it’s well mixed to avoid any lumps.
Add Wet Ingredients
Pour in the melted butter, eggs, and vanilla extract into the dry ingredients. Stir until just combined; overmixing can lead to tough brownies. Fold in the chocolate chips for that extra chocolatey goodness.
Fill the Jars
Spoon the batter into the prepared jars, filling each only halfway to allow room for the brownies to rise. This prevents overflow and ensures a perfect brownie every time.
Bake to Perfection
Place the jars on a baking sheet and bake for 25 minutes, or until a toothpick inserted comes out clean. Let them cool for a few minutes before serving for the best texture.
Tips and Tricks
For an even more decadent treat, try layering your brownie batter with chunks of caramel or peanut butter before baking. If you’re gifting these, consider adding a ribbon or custom label to the jar for a personal touch. For a crispier top, broil the brownies for the last 2 minutes of baking. Always let the brownies cool slightly before digging in to avoid burns and to let the flavors meld together beautifully.
Recipe Variations
- Gluten-Free: Substitute the all-purpose flour with your favorite gluten-free blend.
- Vegan: Use flax eggs and vegan butter to make this recipe plant-based.
- Nutty Delight: Add chopped walnuts or pecans for a crunchy texture.
- Mint Chocolate: Stir in mint extract and top with Andes mints for a refreshing twist.
- S’mores Style: Layer marshmallows and graham crackers with the brownie batter before baking.
Frequently Asked Questions
Can I make these brownies ahead of time?
Absolutely! These brownie jars can be baked and stored in an airtight container for up to 3 days. They also freeze well for up to a month. Just thaw and reheat slightly before serving.
Can I use different sized jars?
Yes, but you’ll need to adjust the baking time accordingly. Smaller jars will bake faster, while larger ones may take a bit longer. Keep an eye on them and test with a toothpick for doneness.
How do I prevent the brownies from sticking to the jar?
Greasing the jars well before adding the batter is key. You can also line them with parchment paper for easy removal, though this might affect the presentation.
Summary
This chocolate brownie jar recipe is a delightful twist on traditional brownies, offering both delicious taste and charming presentation. Whether for a special occasion or a simple treat, it’s sure to impress.